Canning Beef Stock

When I make beef stock, I make sure that I allow a full 48 hours for it to simmer away before I even think about canning it. Since beef bones are so thick, I want to give them plenty of time to give up all the nutrients that they have into my stock.  This is what makes stock so much better for you than broth.  Broth has tastes good, but it is not cooked for extended periods of time, allowing whatever bones you may be using to give up all of their nutrients for you.  Since it literally takes me 3 days from start to finish, I try to make a lot at one time.

As for how I make my beef stock, I roast the bones in a 400* oven for about 2 hours.  The roasting allows the bones to give your stock a wonderful flavor.

IMG_2069

Once they are done roasting, remove from the oven & place in your roaster.  Don’t forget to also use the wonderful drippings in the bottom of your pan!  They also help add to the flavor of your stock.

IMG_2070

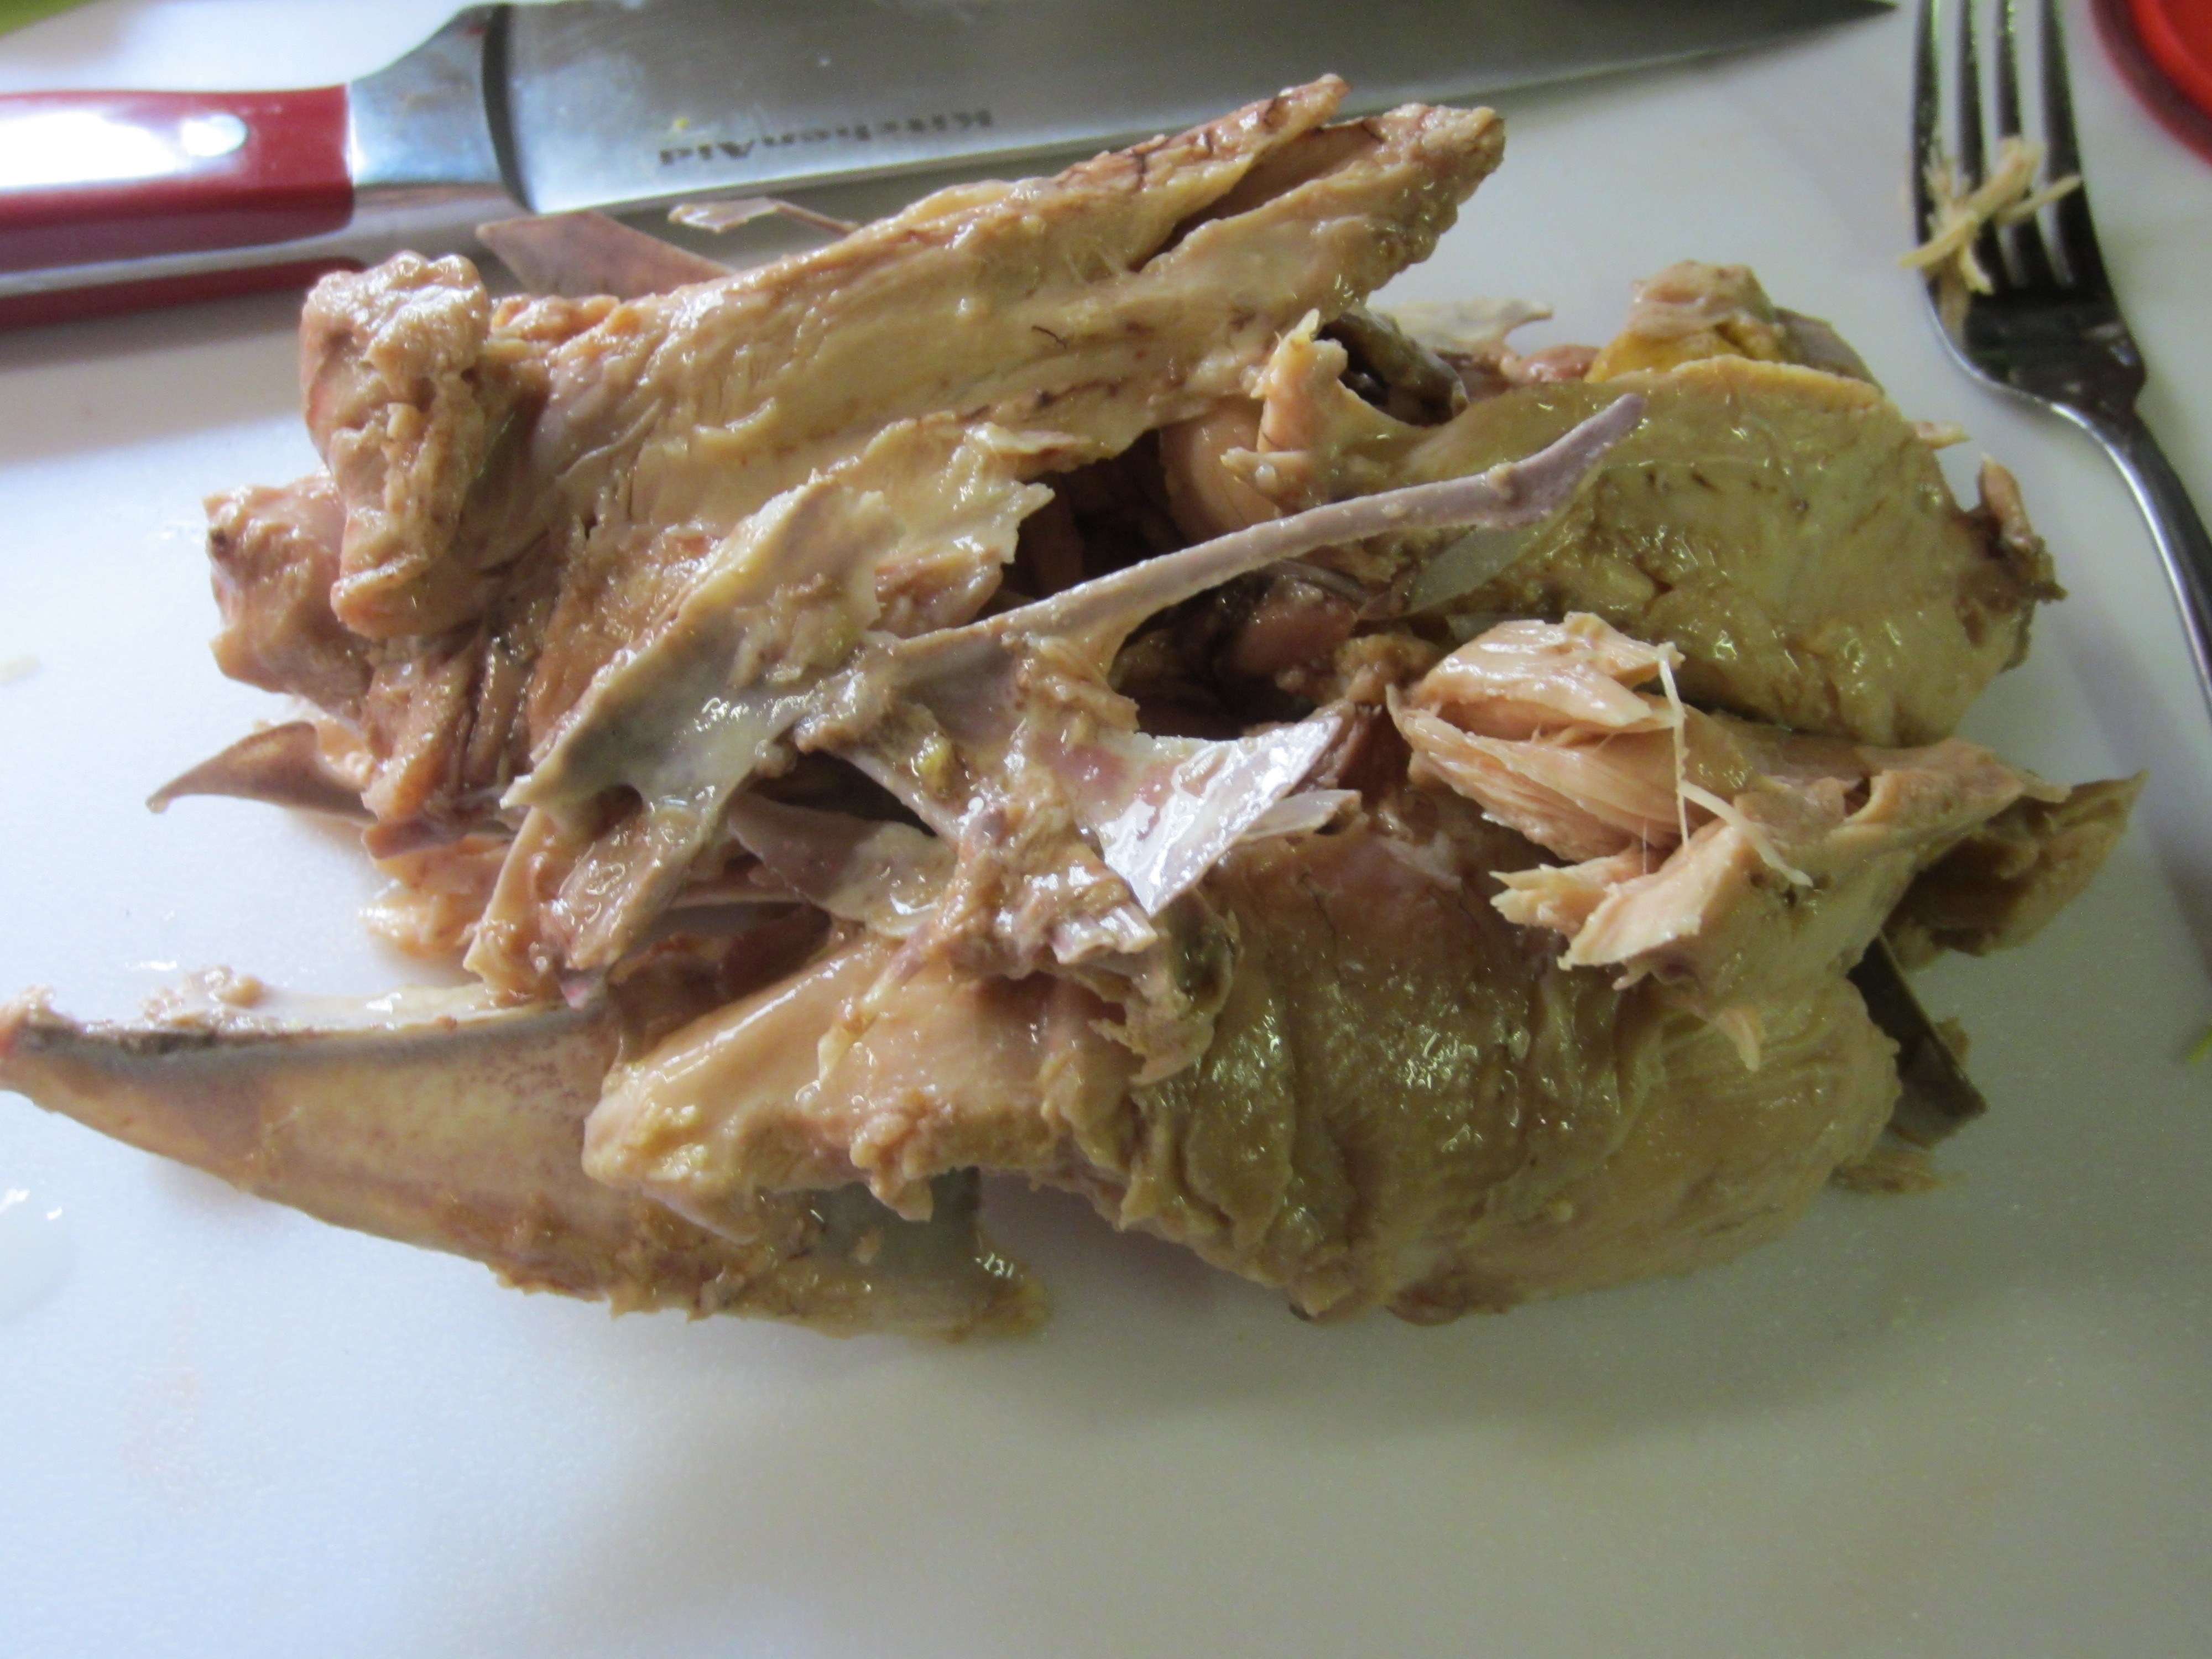
Once it’s done simmering, remove the bones & cooked veggies.  This is what you should have.  All of the marrow has been cooked out of the bones, & they have given up all the nutrients that they are going to.

IMG_2074

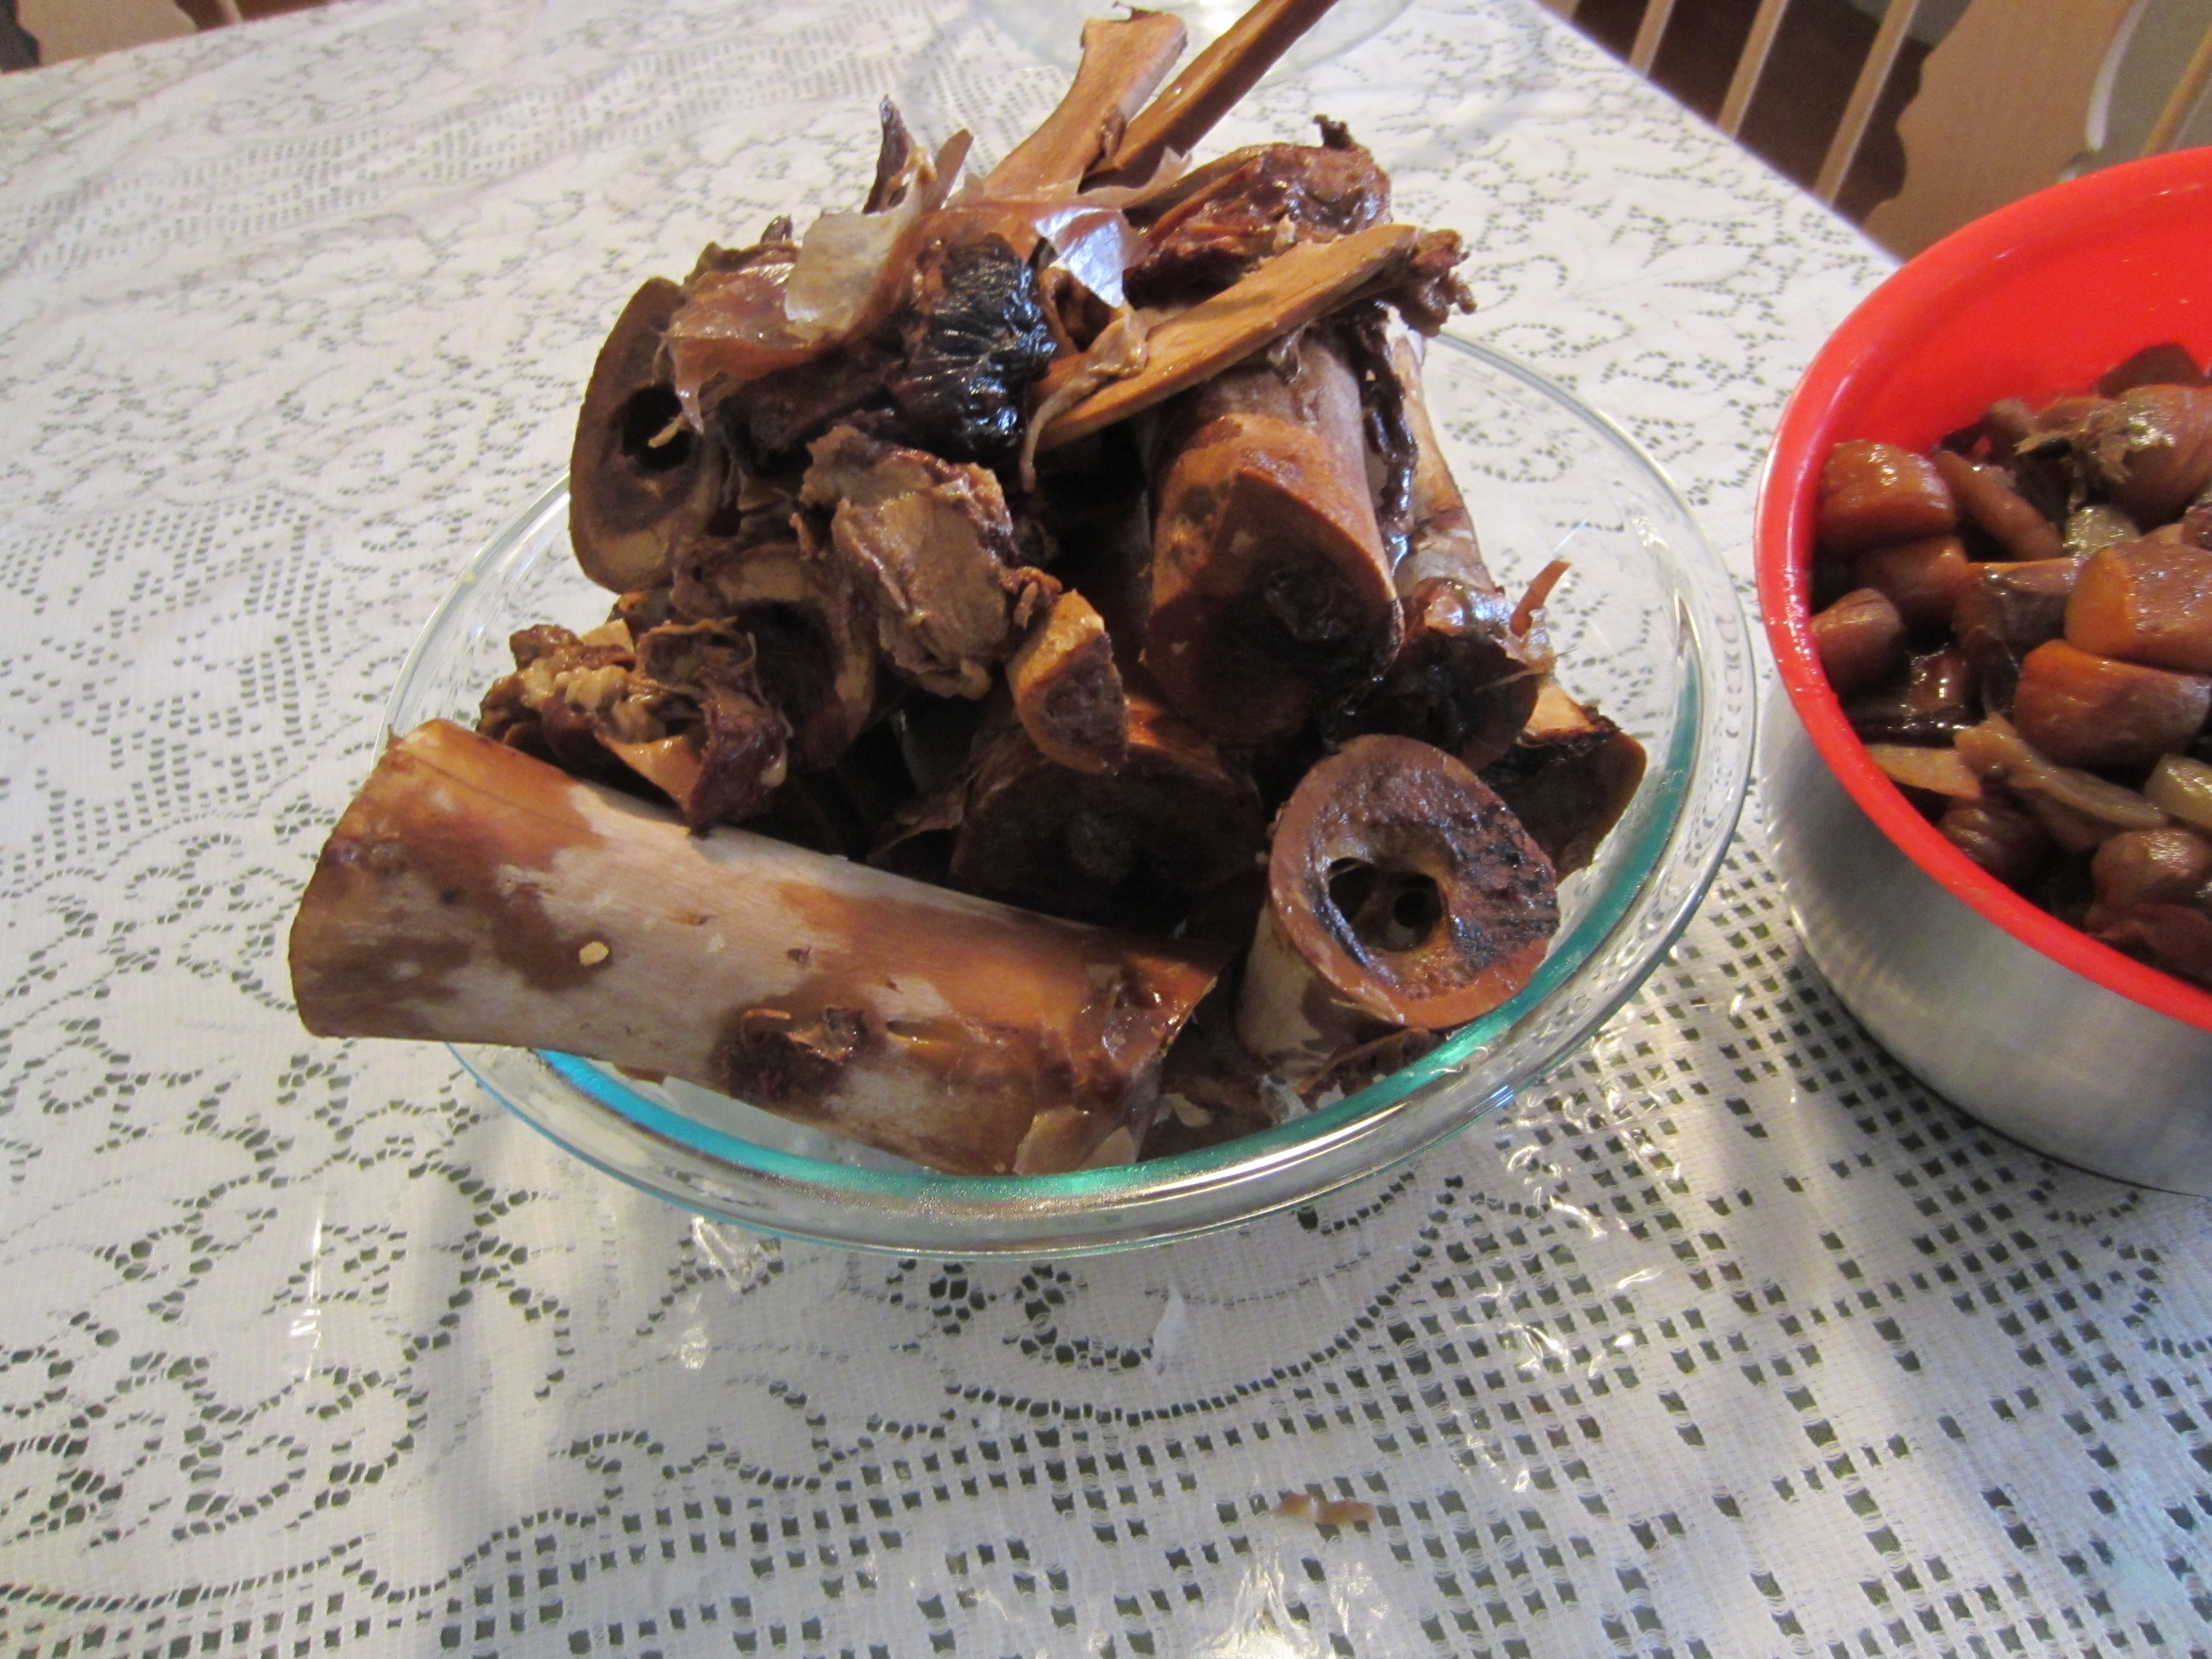
At this point, you can save the cooled bones for your dog (place them in the freezer until you are ready to give them to your pet).  We don’t have a dog, but my sister-in-law does, so I’m saving them for her . The veggie scraps went to my chickens.  They loved them!

Turn the stock off & allow to cool.  Once, cool, remove as much fat as desired from the stock before canning.

IMG_2075

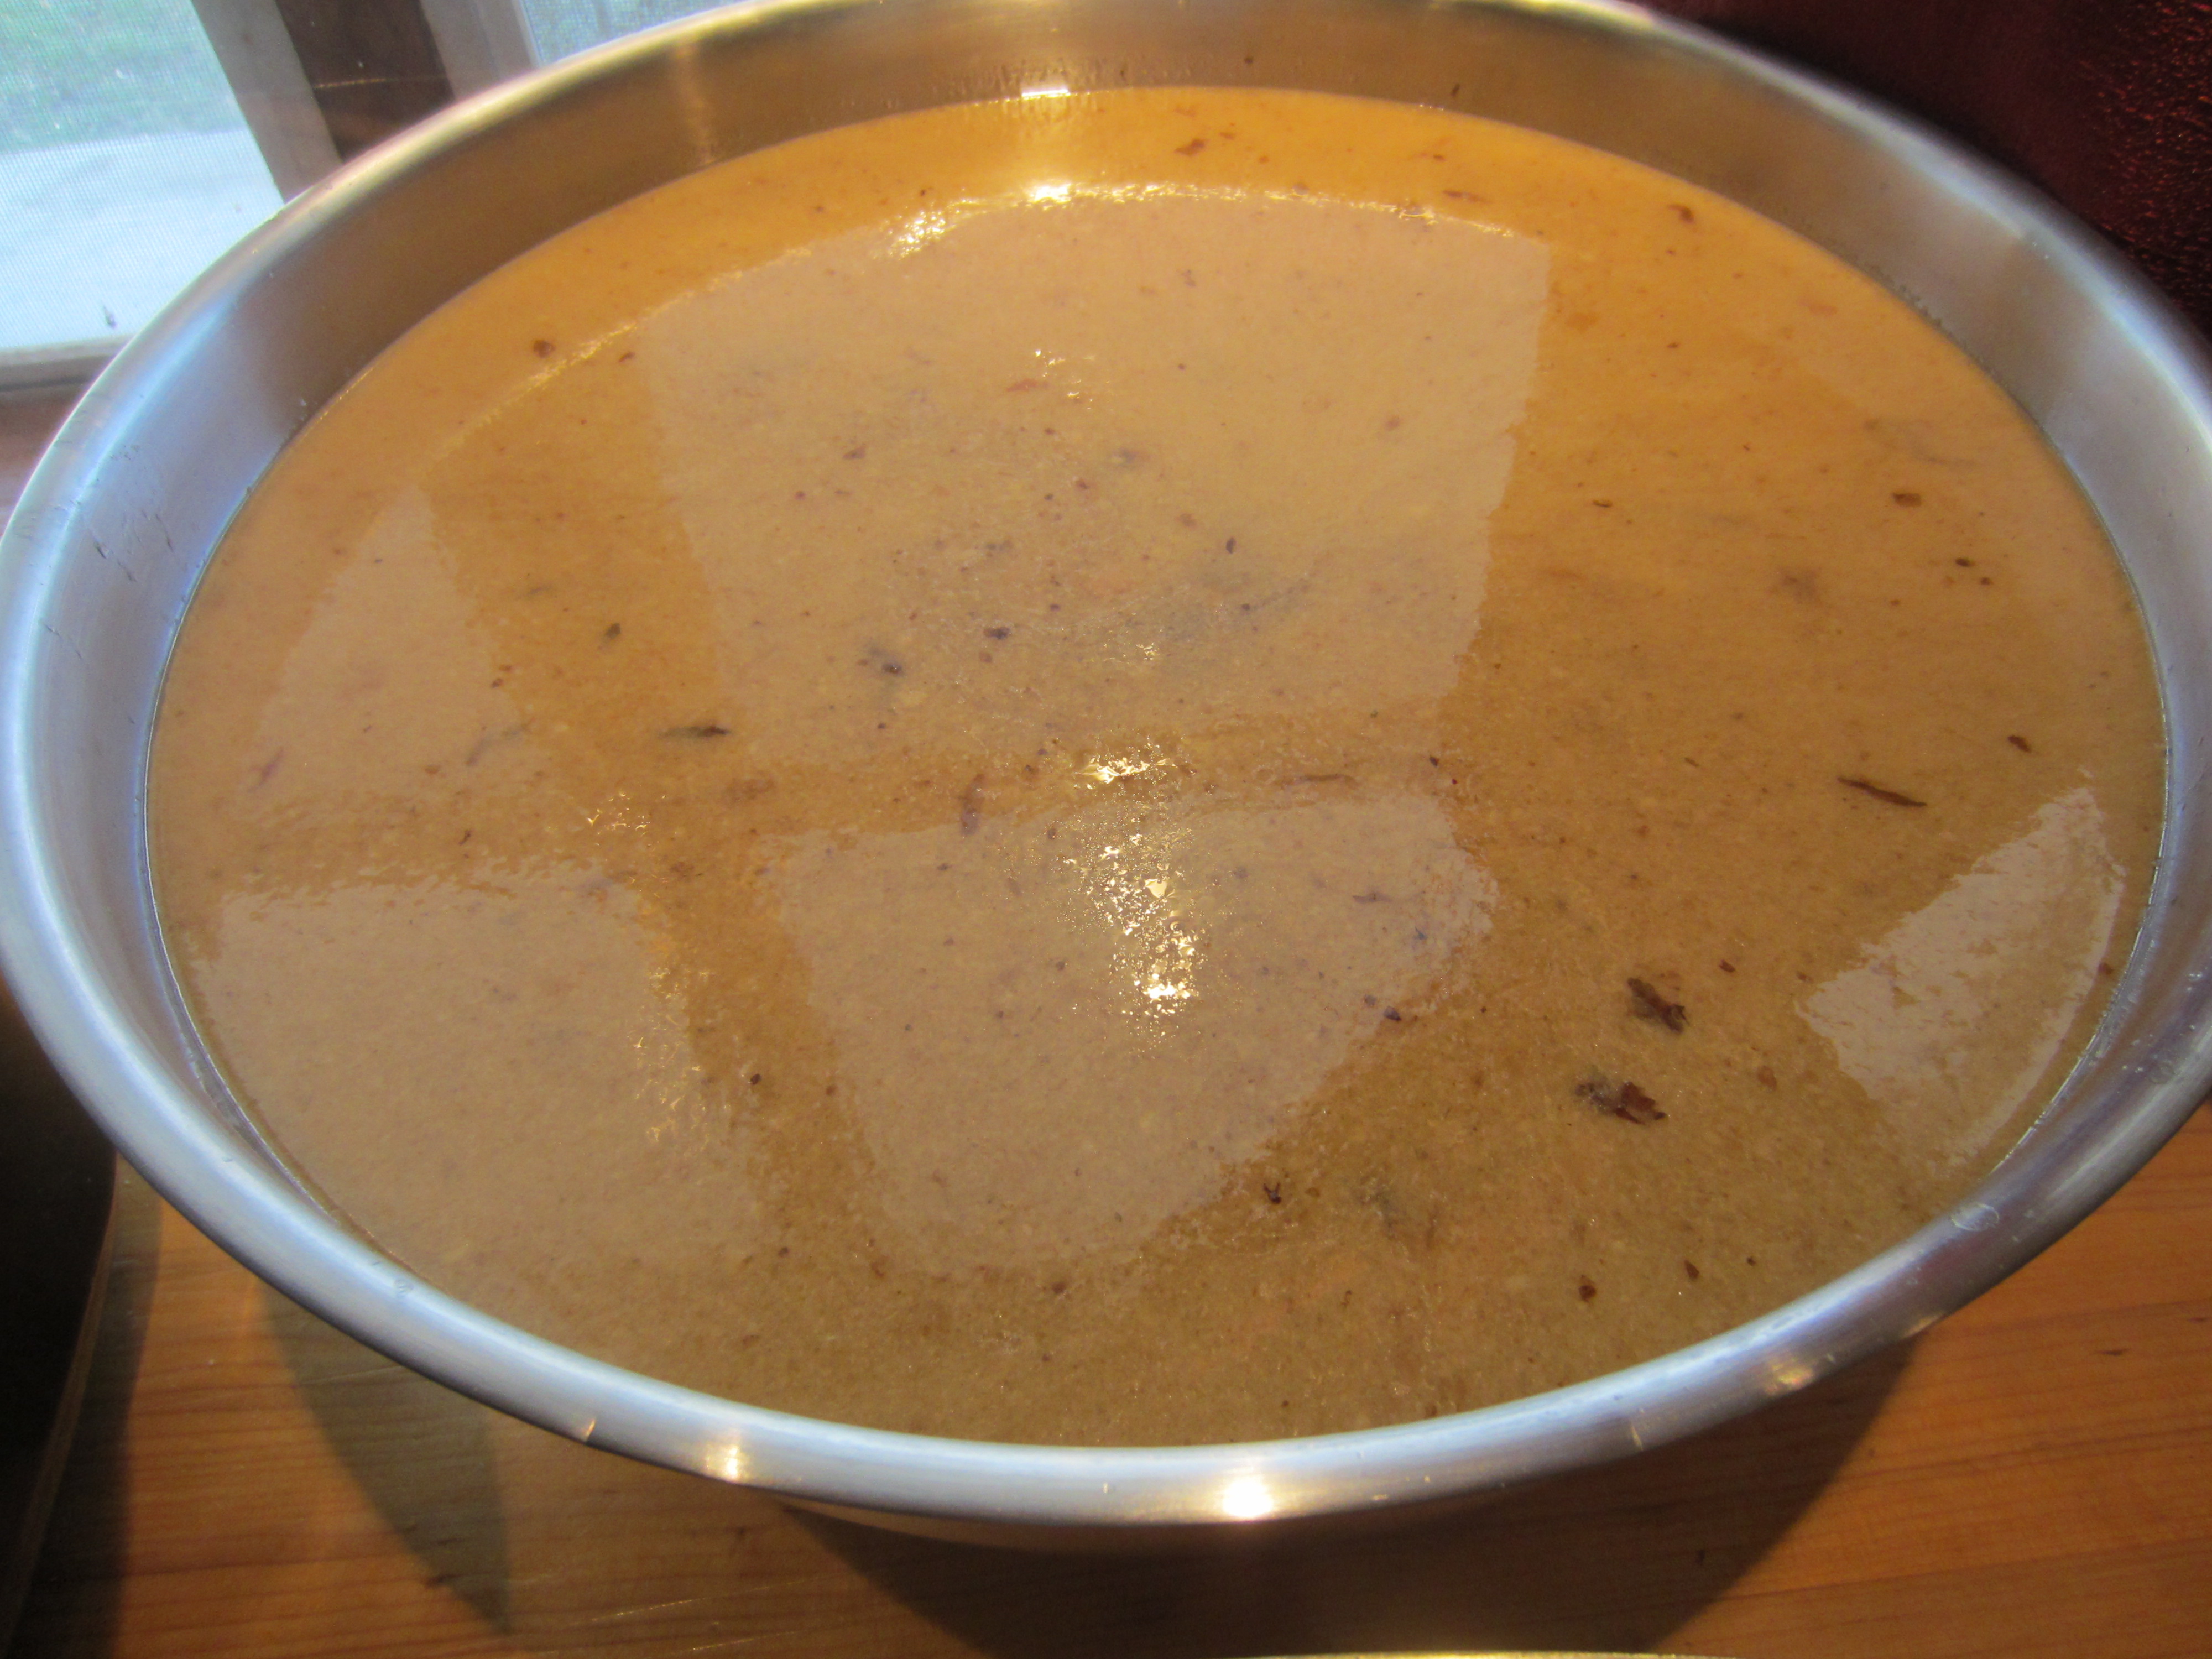
I, personally, do not remove all of the fat from the stock since this is a fat that is not bad for you, and a little in moderation is okay.

To can you stock:

Measure appropriate amount of water into your pressure canner (each canner is different – consult your manual).

Check all jars for any nicks/cracks before using.

Reheat your stock to a low boil.  Ladle hot stock into HOT jars, leaving 1-inch head space  Wipe rims with a towel dipped in a hot water/vinegar mix.  Place HOT seals & rims on jars, tighten according to manufacturer’s instructions.

Place jars into can.  Proceed with manufacturer’s instructions.  Mine says to put lid on, wait for valve to pop up & allow steam to vent for 10 minutes.  Place weight on & allow to come up to pressure.

Once you reach 10 lbs of pressure, process for 25 minutes for quarts, 20 minutes for pints.  Once you have processed your jars for the appropriate amount of time, turn canner off & allow to coast down naturally.  Once valve has dropped, remove weight, allow to vent for a few minutes.  Always open the lid AWAY from you.  There is still plenty of steam inside the canner that can burn you.  If jars are still boiling fairly rapidly, allow to sit in canner for another 5 minutes, or until the boiling stops.  Remove jars from canner & allow to cool completely – approximtely 12 – 24 hours – before moving.

IMG_2077

I always place my jars close together on a towel to protect the surface I’m setting them on, and then I also cover them with another towel.  This allows them to cool slowly & keeps any/all drafts off of them.  Once cool, remove metal rims & check to make sure that each jar has sealed.  If a jar has not resealed, you can either reprocess the jar or place in the refrigerator to be used in the next couple of days.

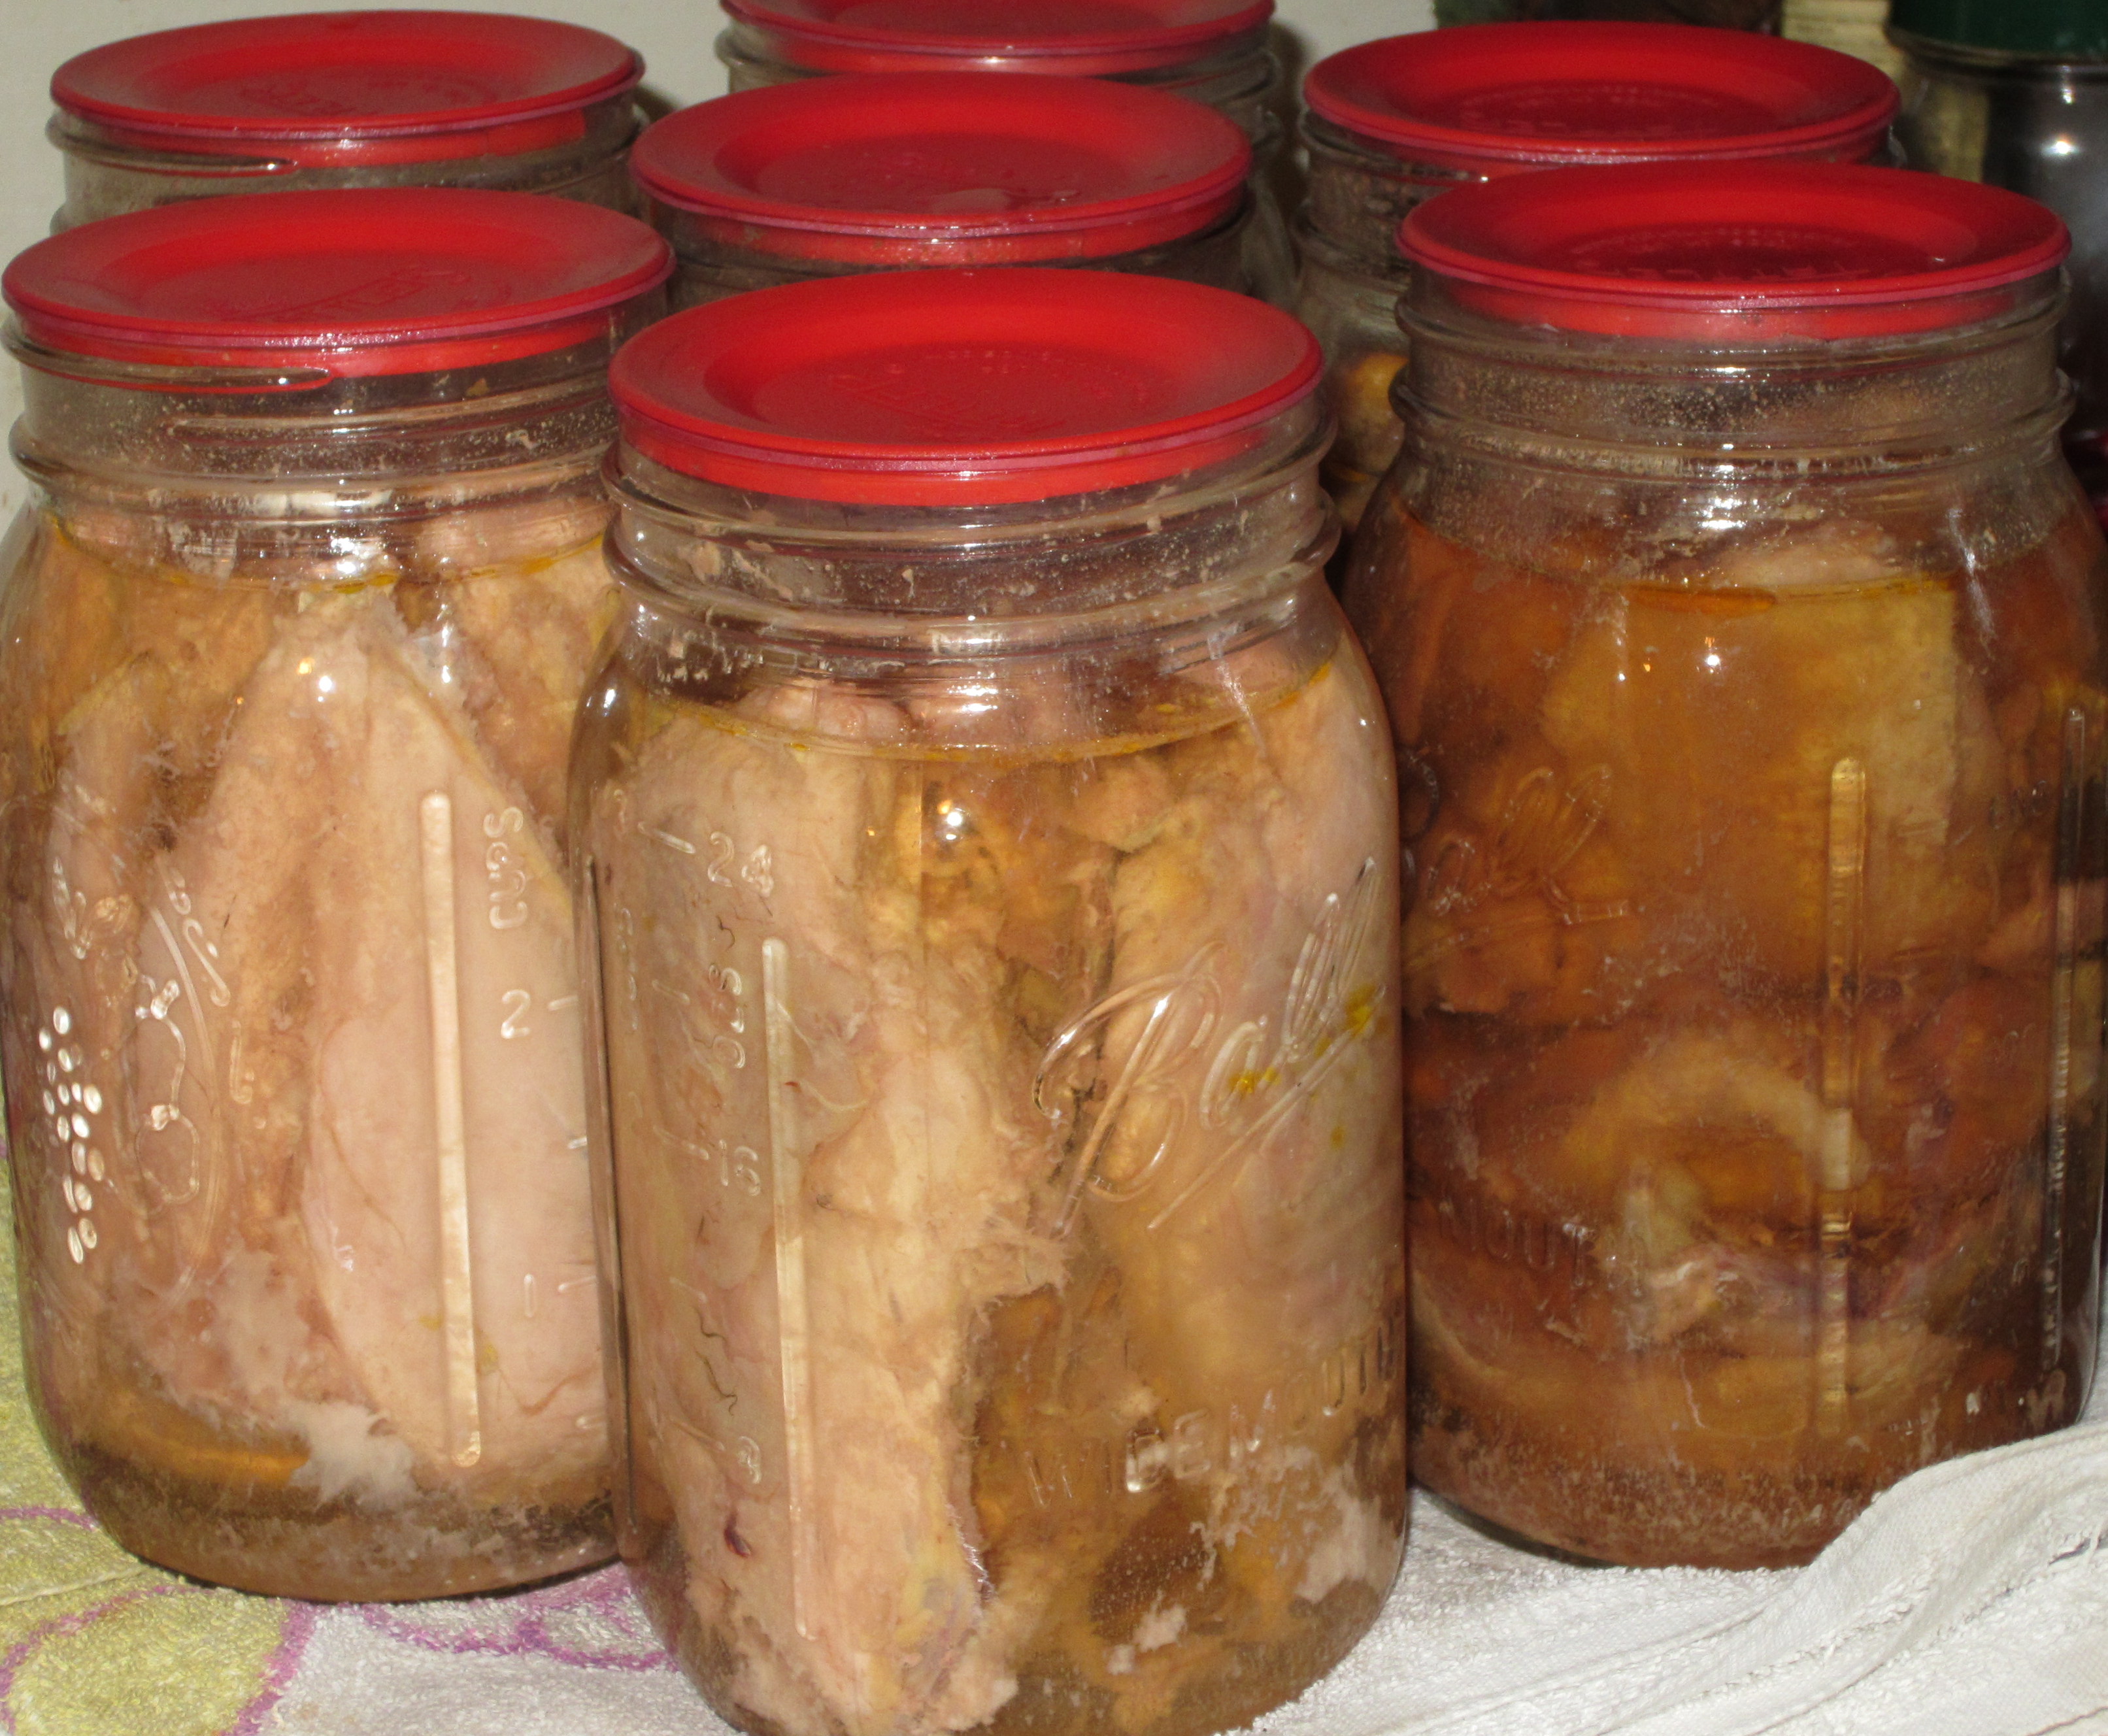
I had 2 roasters full & I ended up canning 28 quarts & 10 pints of beef stock, which will be added to my pantry.  This was even after I used some of the hot stock to make dinner that day!  It was delicious!

This post is linked to:

Heritage Homesteaders

The Chicken Chick

Homestead Barn Hop

April’s Homemaking

Canning Dry Beans

Let me start off by saying that I have canned dry beans this way off and on for several years, and this is my preferred way of doing it, but it does differ from the Ball Blue Book!  Please, use your own judgment!

Canning Dry Beans

Canning Dry Beans

To can dry beans, I wash my jars & check for any chips on the edges.

Place approximately 3/4 to 1 cup of dried beans in each quart jar. (If you’re canning larger beans, you may only need 3/4 cup per quart jar.)  Remember, the beans will EXPAND while soaking, so do not put any more beans in the jar than what will be able to fit once they are done expanding.  (If your jars are too full after soaking, you can always take some off and place in another jar.)

Fill jar with cool water & cover with a towel.  Let soak for 12-18 hours.

Drain soaking water from each jar.  If jars are more than 2/3 of the way full, you will need to remove some of the beans from the jar.  Add them to another jar.  You may end up with enough to have another jar to can, or save them to cook after you’re done canning.

Fill jar with boiling water.  You may add salt, but it is not necessary, and I do not since it can make beans tough.

Dry the lip of each jar.  Place seal & band on, according to manufacturer’s directions.

Can quarts of beans for 90 minutes at 10 pounds of pressure.

These are great to have on hand to help get a meal on the table quickly!  Enjoy!

This post is linked to:

Heritage Homesteaders

The Chicken Chick

Homestead Barn Hop

Update to My Canning Raw, Bone-In Chicken

Canning Chicken - after being pressure canned

Canning Chicken – after being pressure canned

As I promised, this post is going to update you on my thoughts on canning chicken raw.

Here’s a pic of the jars after they had cooled & been washed off.

Well, as it happened, I canned this on a Thursday and then had the perfect opportunity to give it a try when I found out that  a dear, sweet friend of mine came back from her camping trip sick.  Her sweet little girl came down with a stomach bug on the way home, & then she came down with it.  So, I fixed a big pot of homemade chicken noodle soup.  I had all the ingredients in my pantry, including some store-bought egg noodles, so it was super easy & quick to throw together.  I made enough for both her family and mine for supper that night.

Canned chicken after removing from jar.

Canned chicken after removing from jar.

Here’s what the chicken looked like after I pulled it out of the jar.  Remember my telling you that these roosters were a little over a year old?  Most birds at this age are starting to get chewy & tough.  When I pulled these four chicken breasts out of the jar, they literally fell off the bone!  It was so tender & juicy, you would’ve thought that these were very young, tender birds if I hadn’t told you any different.

Chicken noodle soup made with home canned chicken.

Chicken noodle soup made with home canned chicken.

In fact, look what happened when I put it in the soup pot.  It literally fell apart.  It looks like a put shredded chicken in the pot when, in fact, I just cut it into bite-sized chunks before placing it in the pot.

My verdict:

The taste was great!  It was very moist & tender.  I will definitely be doing this again in the near future.  In fact, I have a few bags of frozen chicken that were some of our older birds.  These will now be canned up first chance I get.  It definitely makes it quicker & easier to throw a meal together this way.

This post is linked to:

Heritage Homesteaders Blog Hop #4

Homestead Blog Hop #151

Farm Blog Hop

Clever Chick Blog Hop

Oak Hill Homestead

Path: p » a