Freezer Cooking: Meatloaf & Precooked Chicken

I did a little freezer “cooking” a few weeks ago.  I made up a few meatloaves for the freezer, as well as one for dinner.  It really is easy to make extra (double, triple, etc.) of something that you’re already going to make anyway.  It takes very little extra time, and the bonus is that you have meals already prepped & ready to go in the freezer.  All that really needs to be done is to pull it out the evening/night before & let it thaw in the refrigerator overnight, and then it’s ready to go the next day.  This goes for any meal, whether you need to cook in the slow cooker, bake in the over, cook on the stove top, or grill.  This particular day, I was planning meatloaf, so I planned to make extra.  Here’s what I bought/used:

  • 5 lb ground beef
  • 5 cups old fashioned rolled oats
  • 5 eggs
  • 2 large onions, chopped
  • 2 bell peppers, chopped
  • 2 large carrots, shredded
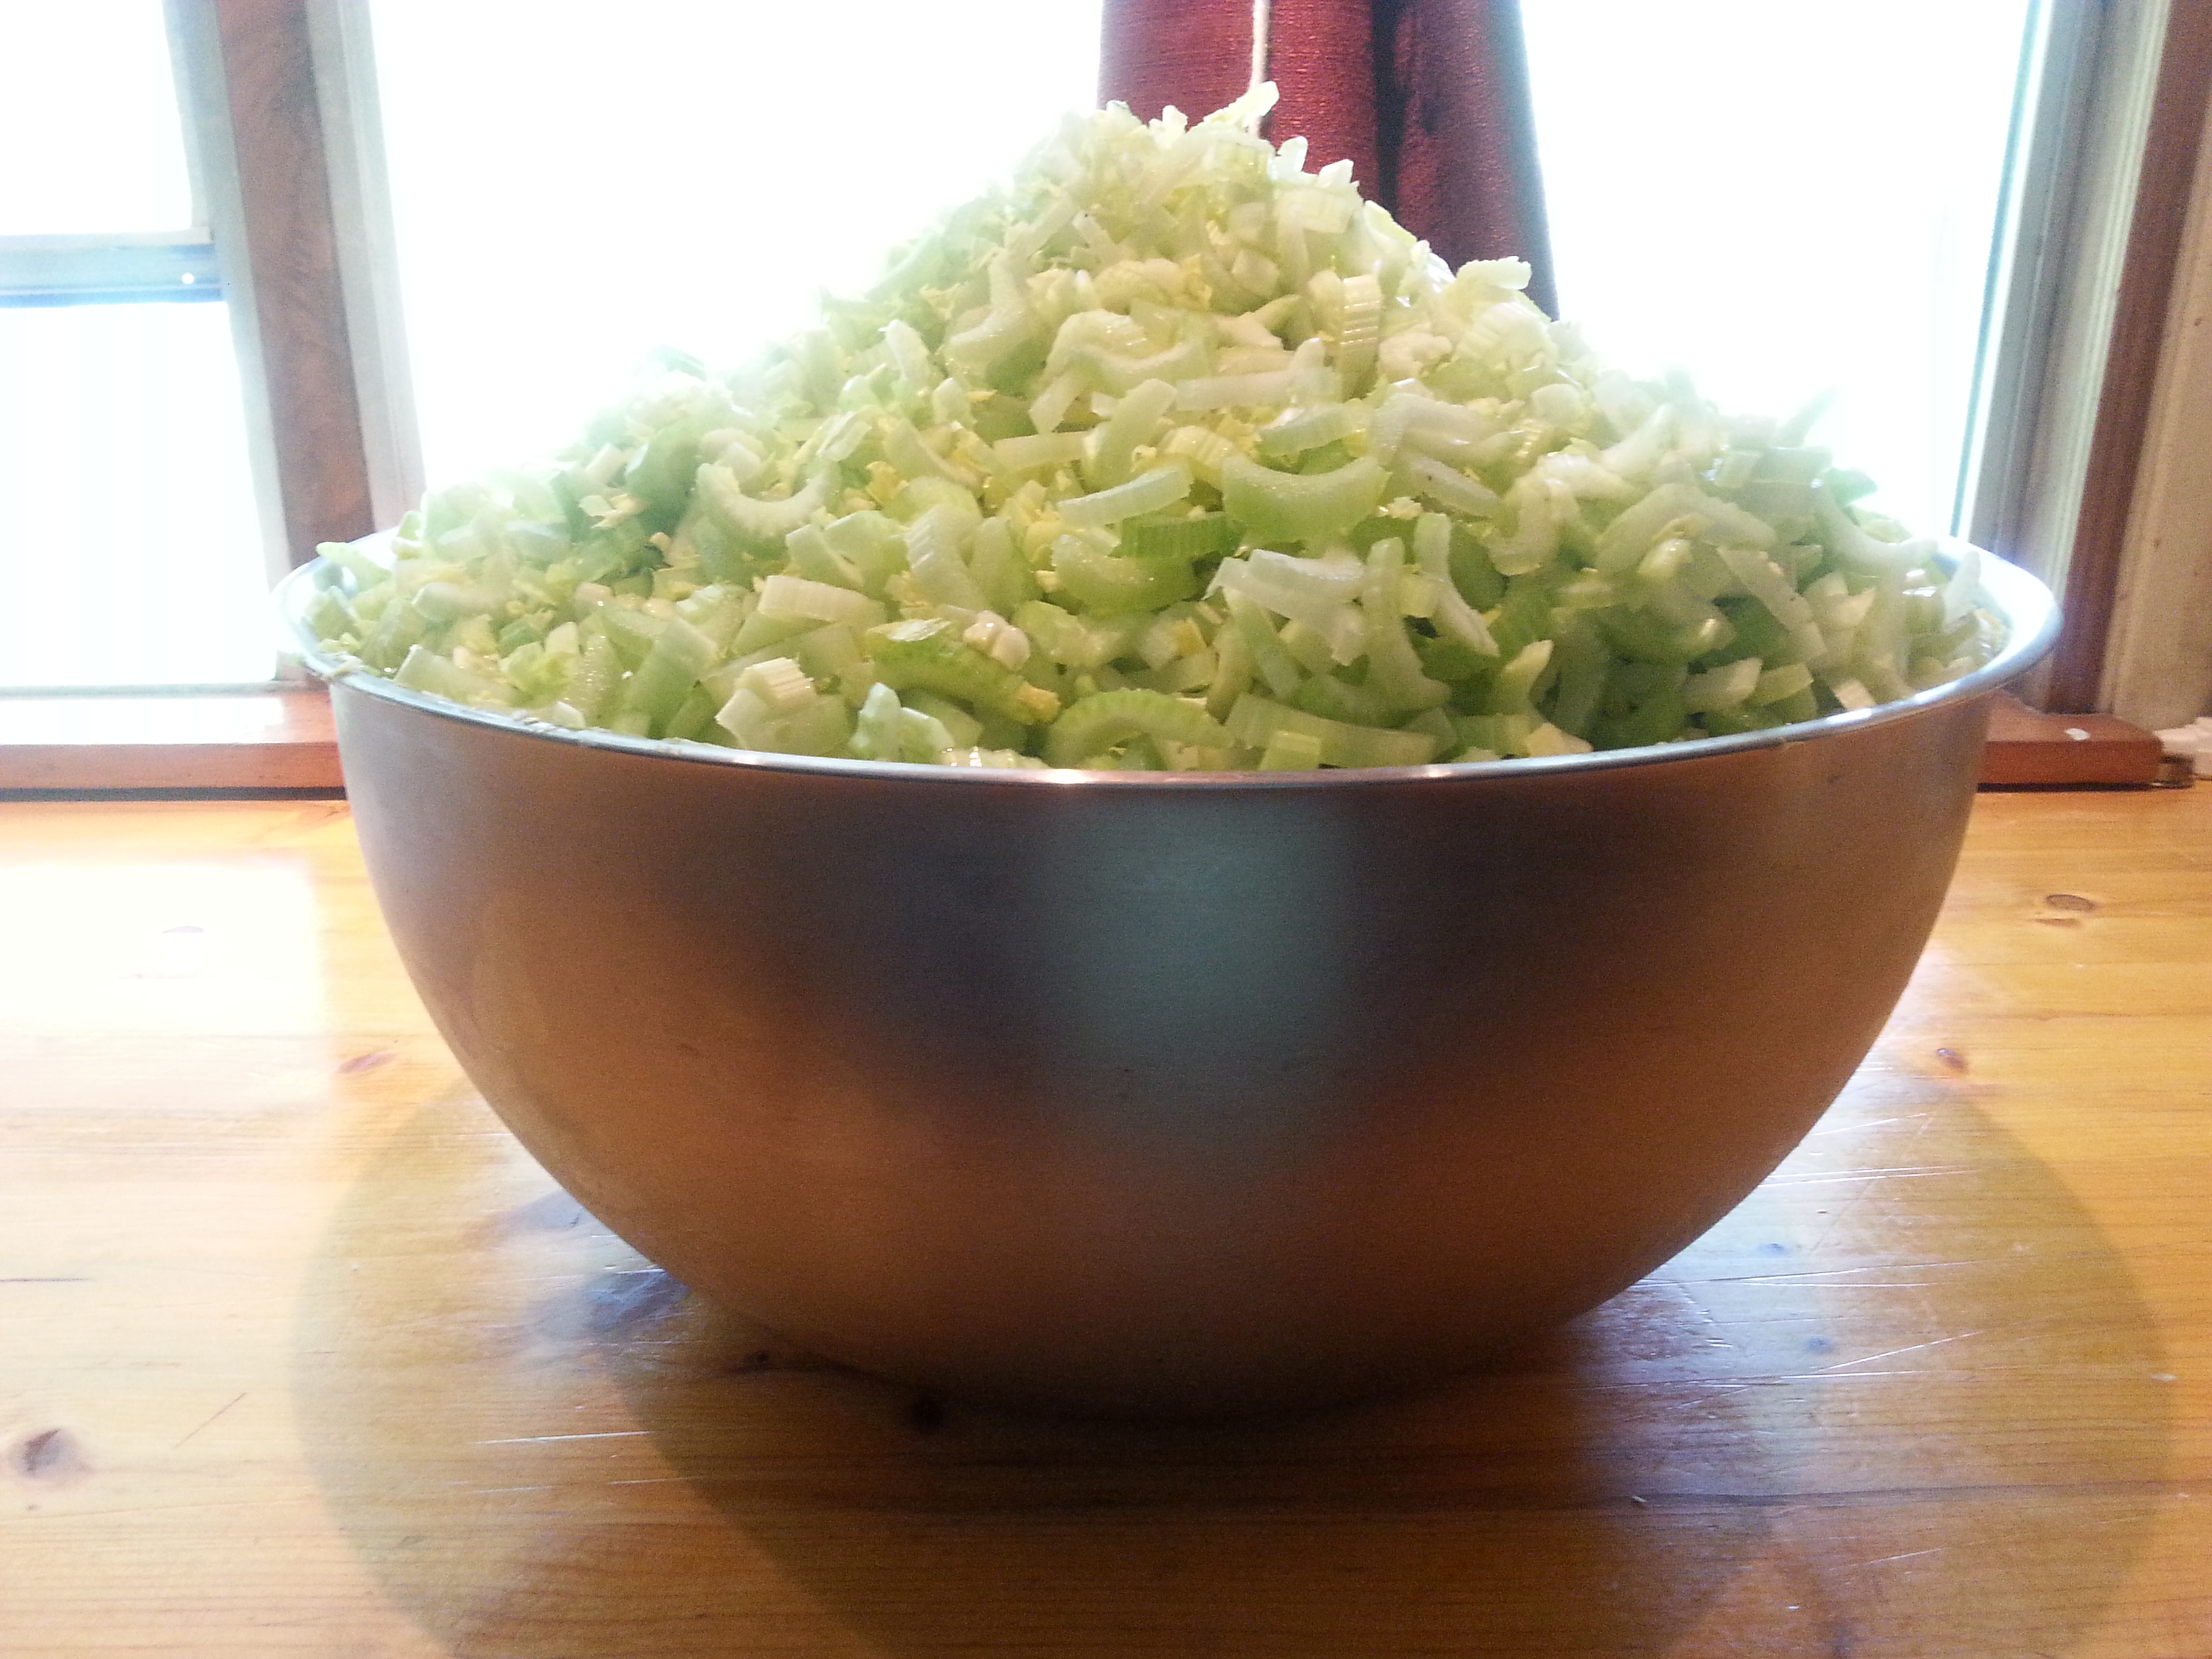
  • 1 medium zucchini, shredded
  • 8 oz baby bella mushrooms, chopped
  • 10 slices bacon, cooked crisp
  • 2 packets onion soup mix
  • seasonings to taste ( this time, I used smoked paprika, roasted garlic powder, onion powder, salt, & pepper)
  • 1 1/2 – 2 cups BBQ sauce

IMG_1399      IMG_1400

Mix everything together very well & divide into gallon freezer bags.

At this point, you can either shape it into a loaf or you can flatten it in the bag & freeze.  I like to flatten it out when I’m freezing it for a couple of reasons:  (1) It takes up less space in my freezer & (2) it takes a lot less time to thaw out because it’s not a large mass.   I use my rolling pill to lightly press it flat in the freezer bag, which also helps me to get out as much air as possible.

IMG_1401 IMG_1403

The above ingredients netted me 4 meatloaves at 2.22 lbs each with 3 cups of extra veggies that I will use to make some more meatloaves.  The veggies were divided into 2 quart bags & placed in the freezer along with 3 of the meatloaves.

I also wrote the cooking instructions on the bag so that anyone in my family can prepare this meal.  To cook your meatloaf in the slow cooker:  Shape & place your meatloaf in a foil-lined slow cooker & cook on high for 4 hours, or on low for 6-8 hours, depending on your slow cooker.  Top with BBQ sauce in the last 30 minutes or so.

IMG_1411 IMG_1413

This meatloaf is enough to feed my family of 5 for 1 meal.  There may or may not be leftovers.  It will depend on what sides we have & how hungry everyone is.


IMG_1414 IMG_1415

I had also purchased a whole cut up chicken & 2 packages of split chicken breasts that were marked down, so I placed all of that in the slow cooker the night before with about 1 cup of water.  I deboned & shredded all of this meat & will divide it up into meal-size portions for the freezer to help make last minute meals go much quicker.  This really helps to cut down my cooking/baking time since the meat is already cooked & ready to go.  I leave out any seasonings so that I can season it up as I go, depending on what dishes I am making.

I also try to keep precooked ground beef on hand, but that’s a post for another day!

I hope you have enjoyed this post, & that it helps you make your meal planning, dinner preparations go a little more quickly & smoothly!

What to do with 30 bunches of organic celery?

Last month, Azure Standard had a box of organic celery on sale for $11.25 ($12.21 w/tax).  Each box was guaranteed to contain at least 30 bunches of celery, which is what I received.  So, each bunch of Organic celery cost me $0.41/each.  So, what did I do with ALL. THAT. CELERY?

Well,  I started by chopping it up.  I had two bowls full.  Each bowl contained 15 bunches of chopped up celery.

20140513_114643

1 of 2 bowls full of organic chopped celery (15 bunches).

Then, I loaded them onto my Excalibur Dehyrator trays and dehydrated them! I filled my dehydrator twice and turned two huge bowl fulls into this:

20140514_141404

Two half gallon canning jars full of dehydrated celery!  I will end up grinding some of this up into a powder to go into my vegetable powder mix that I keep on hand, but I will leave most of it as is for now.  It will be used soups & stews in the coming months, especially in the winter.  While celery is easily accessible all year long and not overly expensive (usually running around $0.97 to $1.30/bunch), buying organic can cost even more.  But, at $0.41/bunch, I now have plenty on hand whenever I need some for a dish.

Canning Beef Stock

When I make beef stock, I make sure that I allow a full 48 hours for it to simmer away before I even think about canning it. Since beef bones are so thick, I want to give them plenty of time to give up all the nutrients that they have into my stock.  This is what makes stock so much better for you than broth.  Broth has tastes good, but it is not cooked for extended periods of time, allowing whatever bones you may be using to give up all of their nutrients for you.  Since it literally takes me 3 days from start to finish, I try to make a lot at one time.

As for how I make my beef stock, I roast the bones in a 400* oven for about 2 hours.  The roasting allows the bones to give your stock a wonderful flavor.

IMG_2069

Once they are done roasting, remove from the oven & place in your roaster.  Don’t forget to also use the wonderful drippings in the bottom of your pan!  They also help add to the flavor of your stock.

IMG_2070

Once it’s done simmering, remove the bones & cooked veggies.  This is what you should have.  All of the marrow has been cooked out of the bones, & they have given up all the nutrients that they are going to.

IMG_2074

At this point, you can save the cooled bones for your dog (place them in the freezer until you are ready to give them to your pet).  We don’t have a dog, but my sister-in-law does, so I’m saving them for her . The veggie scraps went to my chickens.  They loved them!

Turn the stock off & allow to cool.  Once, cool, remove as much fat as desired from the stock before canning.

IMG_2075

I, personally, do not remove all of the fat from the stock since this is a fat that is not bad for you, and a little in moderation is okay.

To can you stock:

Measure appropriate amount of water into your pressure canner (each canner is different – consult your manual).

Check all jars for any nicks/cracks before using.

Reheat your stock to a low boil.  Ladle hot stock into HOT jars, leaving 1-inch head space  Wipe rims with a towel dipped in a hot water/vinegar mix.  Place HOT seals & rims on jars, tighten according to manufacturer’s instructions.

Place jars into can.  Proceed with manufacturer’s instructions.  Mine says to put lid on, wait for valve to pop up & allow steam to vent for 10 minutes.  Place weight on & allow to come up to pressure.

Once you reach 10 lbs of pressure, process for 25 minutes for quarts, 20 minutes for pints.  Once you have processed your jars for the appropriate amount of time, turn canner off & allow to coast down naturally.  Once valve has dropped, remove weight, allow to vent for a few minutes.  Always open the lid AWAY from you.  There is still plenty of steam inside the canner that can burn you.  If jars are still boiling fairly rapidly, allow to sit in canner for another 5 minutes, or until the boiling stops.  Remove jars from canner & allow to cool completely – approximtely 12 – 24 hours – before moving.

IMG_2077

I always place my jars close together on a towel to protect the surface I’m setting them on, and then I also cover them with another towel.  This allows them to cool slowly & keeps any/all drafts off of them.  Once cool, remove metal rims & check to make sure that each jar has sealed.  If a jar has not resealed, you can either reprocess the jar or place in the refrigerator to be used in the next couple of days.

I had 2 roasters full & I ended up canning 28 quarts & 10 pints of beef stock, which will be added to my pantry.  This was even after I used some of the hot stock to make dinner that day!  It was delicious!

This post is linked to:

Heritage Homesteaders

The Chicken Chick

Homestead Barn Hop

April’s Homemaking