It really does help to know your meat processor! Or, in our case, his son! He has been such a blessing to us, and he’s a wealth of information! When we began discussing having a cow processed last fall, we found out that most people do not save the soup bones, liver, heart, tongue, or suet from their cows. If you ask, he will save the soup bones & suet for you – FREE! How amazing is that?! (He will also save the lard from pigs when they get them in!)
I recently put in a request for some lard/suet, and yesterday, I picked up 3 boxes full of suet (beef fat)!
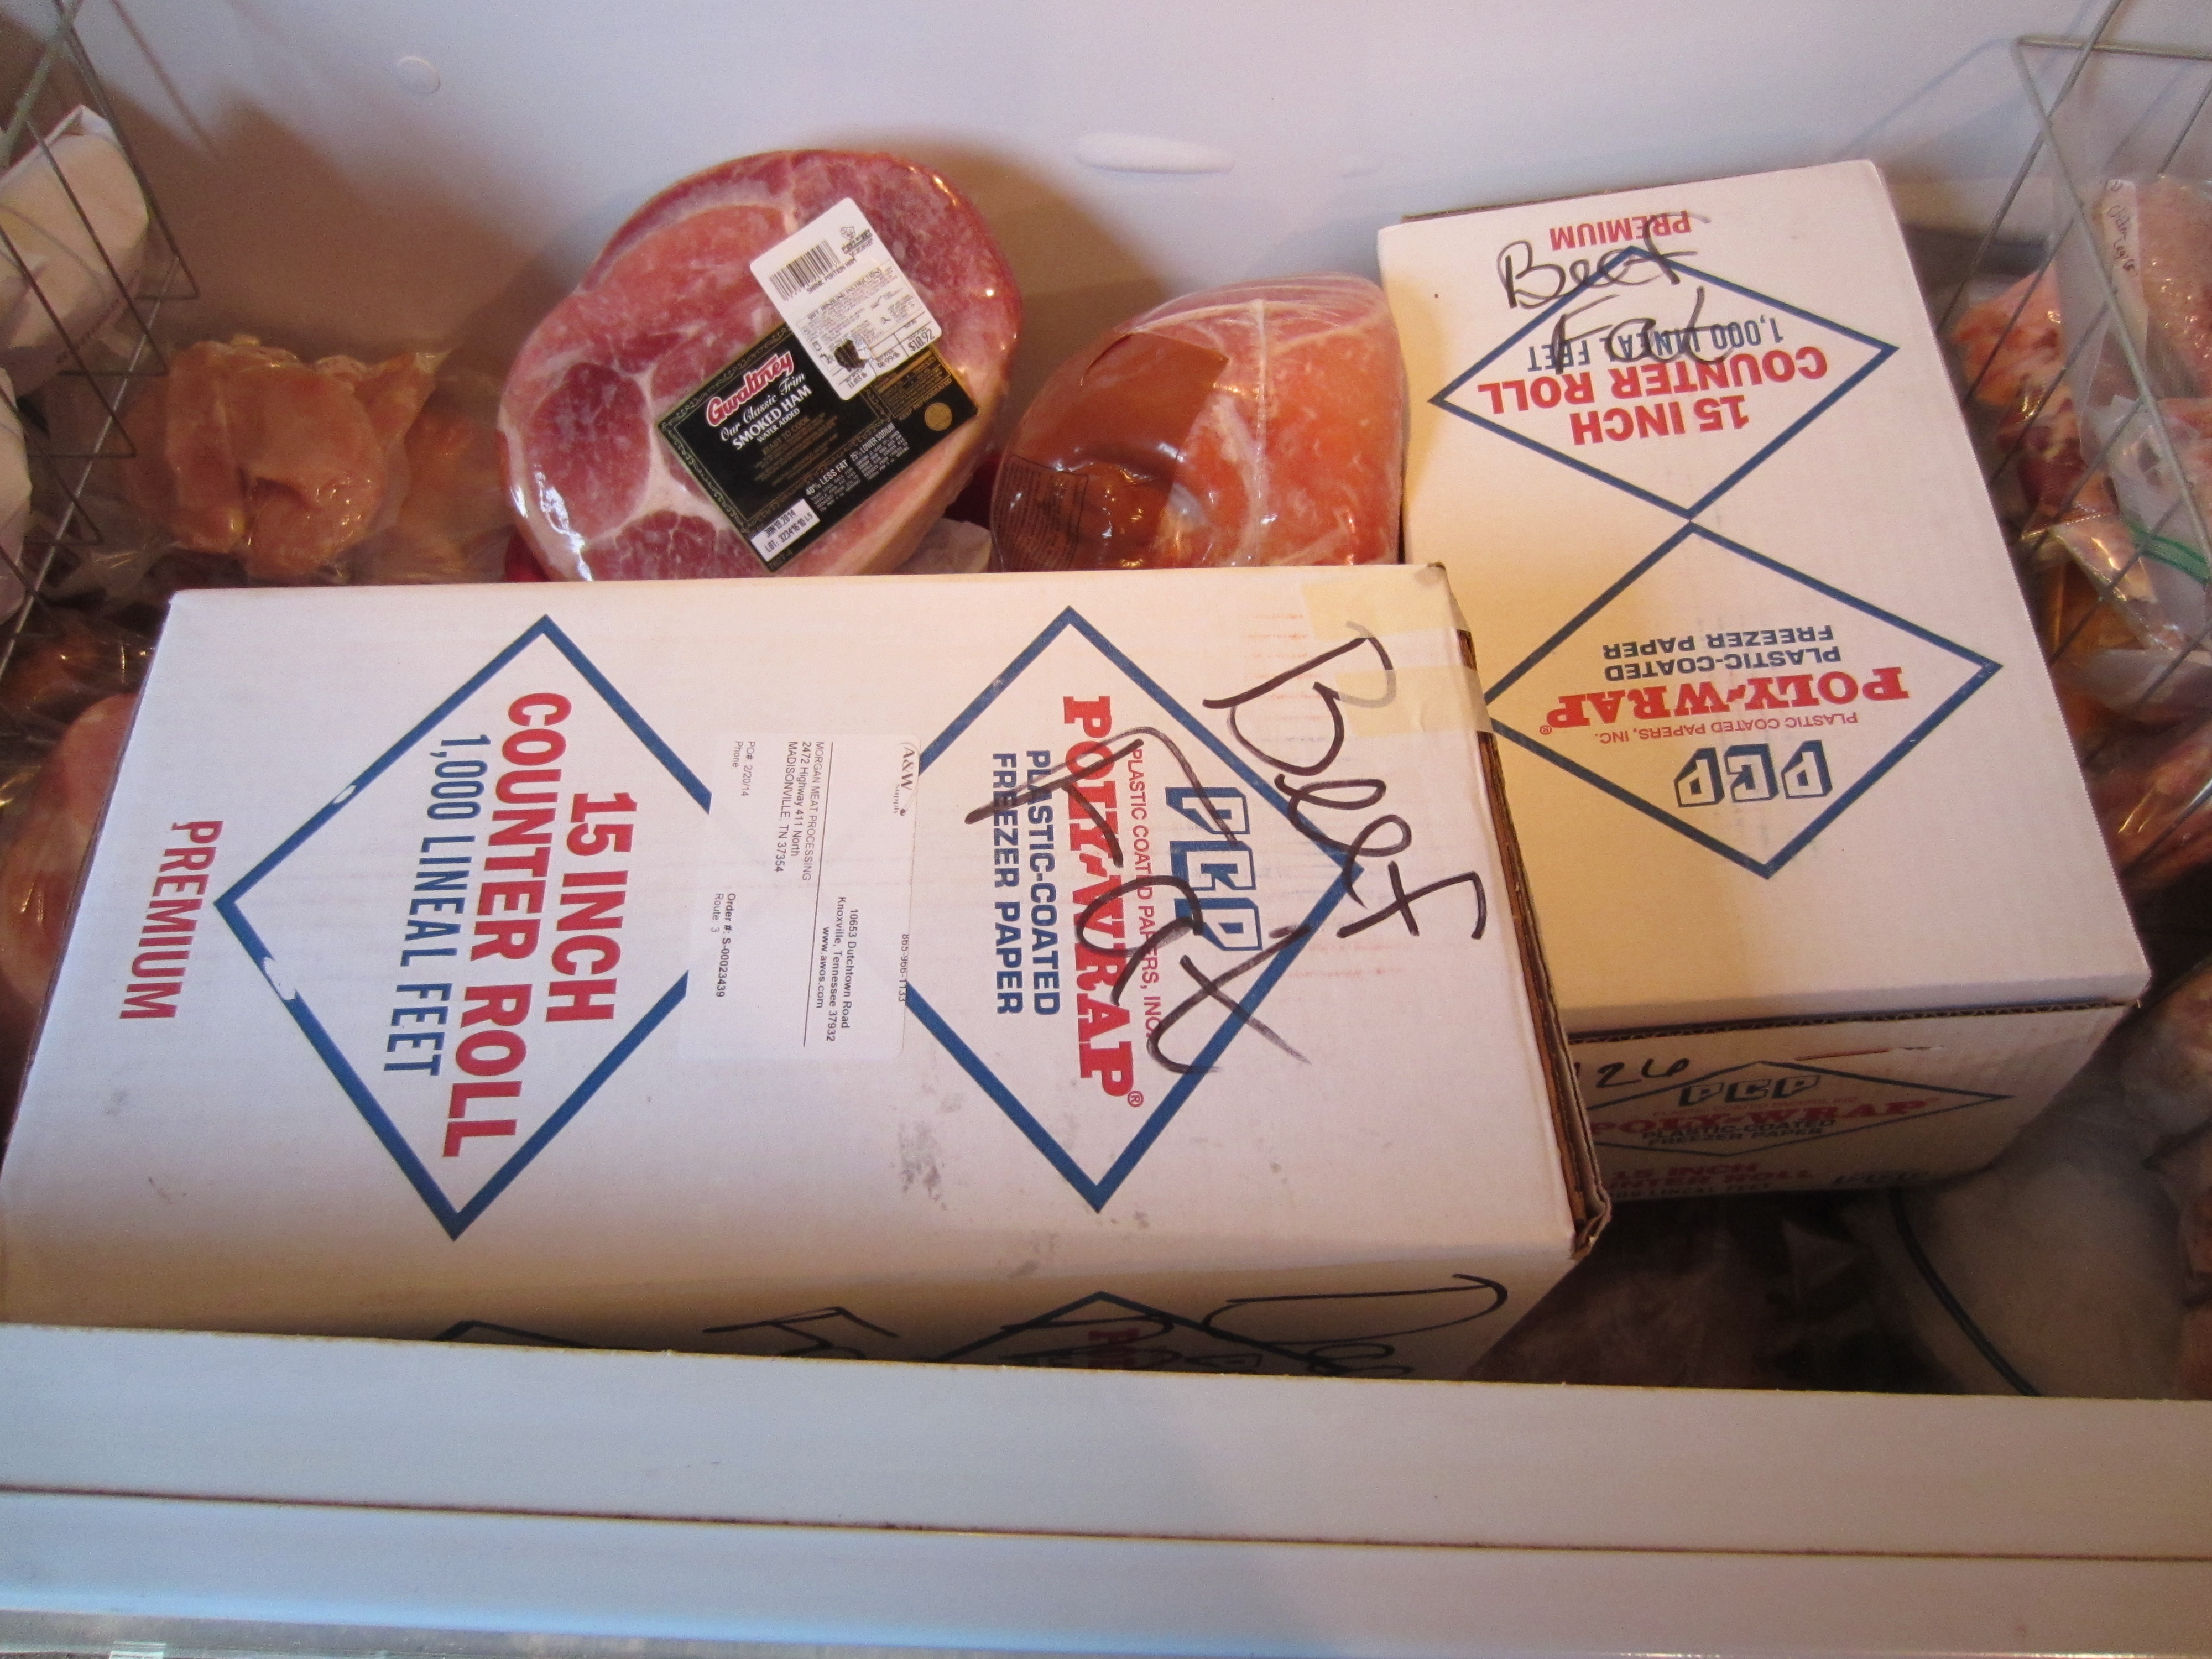
Beef fat – 2 of the 3 boxes I picked up!
Here, you can see what it looks like! Isn’t it beautiful?! I can’t wait to render it down into tallow very soon.
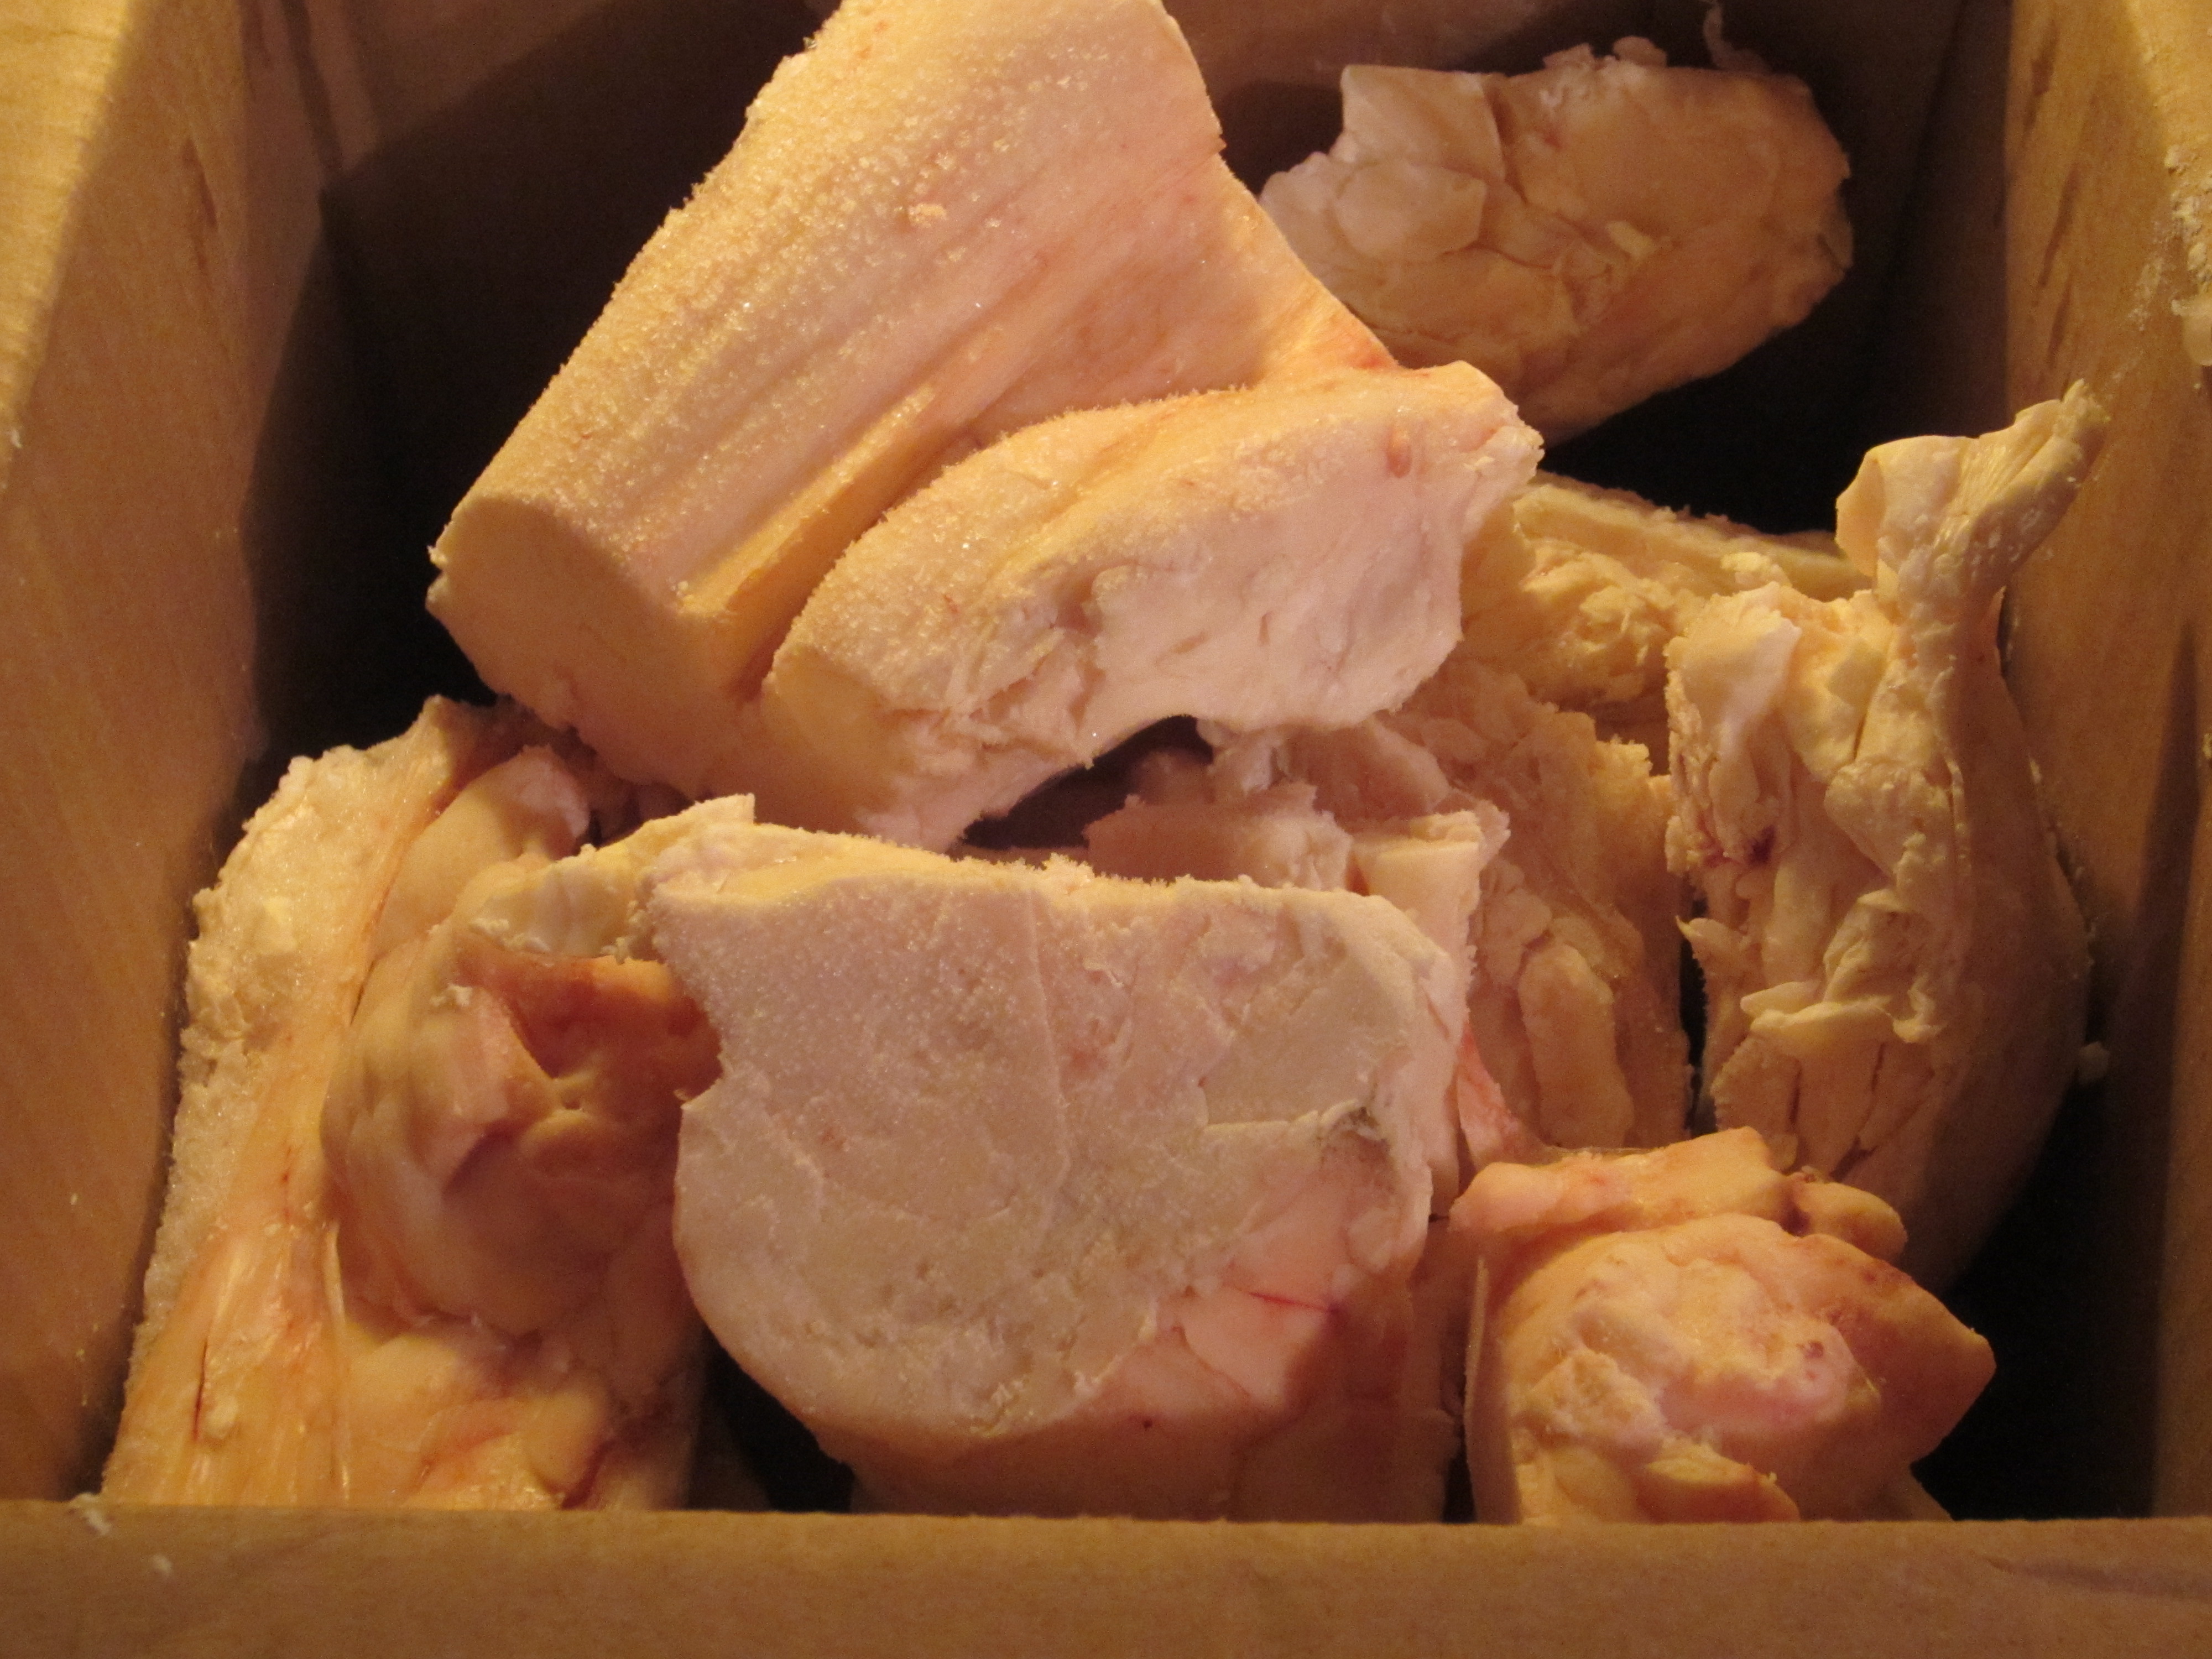
Frozen Beef Fat (Suet)
*A tip we received from his son (my sweet husband works with him) is to save some of the best suet & keep it in the freezer. When we want to make hamburgers, pull it out and & grate some over the top of of the ground beef! That is an awesome idea! This keeps the lean hamburger meat from falling apart on the grill.
If you’ve ever had hamburgers fall apart while grilling them, it’s probably because they did not have enough fat in them to hold them together. Some fat is okay for you. There is no reason to cut it all out of your diet. Your body needs some healthy fats and, believe it or not, lard & tallow are good fats – just like butter! Yes, you can have too much of a good thing. Moderation is the key!
Stay tuned for my new adventure into rendering tallow! Blog post coming as soon as I get a chance to get this done.
This post has been linked to: