My First Attempt at Canning Raw, Bone-In Chicken

4 cut up chickens waiting to be canned & turned into stock

4 cut up chickens waiting to be canned & turned into stock

This past week, a friend of mine was giving away 4 roosters, which I was happy to take off of her hands.  We picked them up on Tuesday and then processed them Wednesday morning before our weather turned cold (again).  Since we didn’t have anything invested in them but time, I figured these would be great to try my hand a canning raw chicken!

I followed the instructions in my Ball Blue Book & covered them with water, leaving 1 inch head space.  I canned the quarts of raw, bone-in chicken for 75 minutes at 10 pounds of pressure.

While the chicken was in the pressure canner. I put the backs, necks, wing tips, hearts & veggie scraps into my roaster & added a splash of vinegar, some salt, peppercorns, & bay leaves, covered with water & cooked all night.    I put the chicken livers in the freezer for my dad.  We don’t care for them, but he loves them!

The process was very easy to do.  I canned them in wide-mouth quart jars.  Each jar held 4 pieces, and I canned 2 quarts of chicken breasts, 2 quarts chicken thighs, 2 quarts chicken legs, & 1 quart chicken wings – cut apart.

Canning Chicken - before being processed

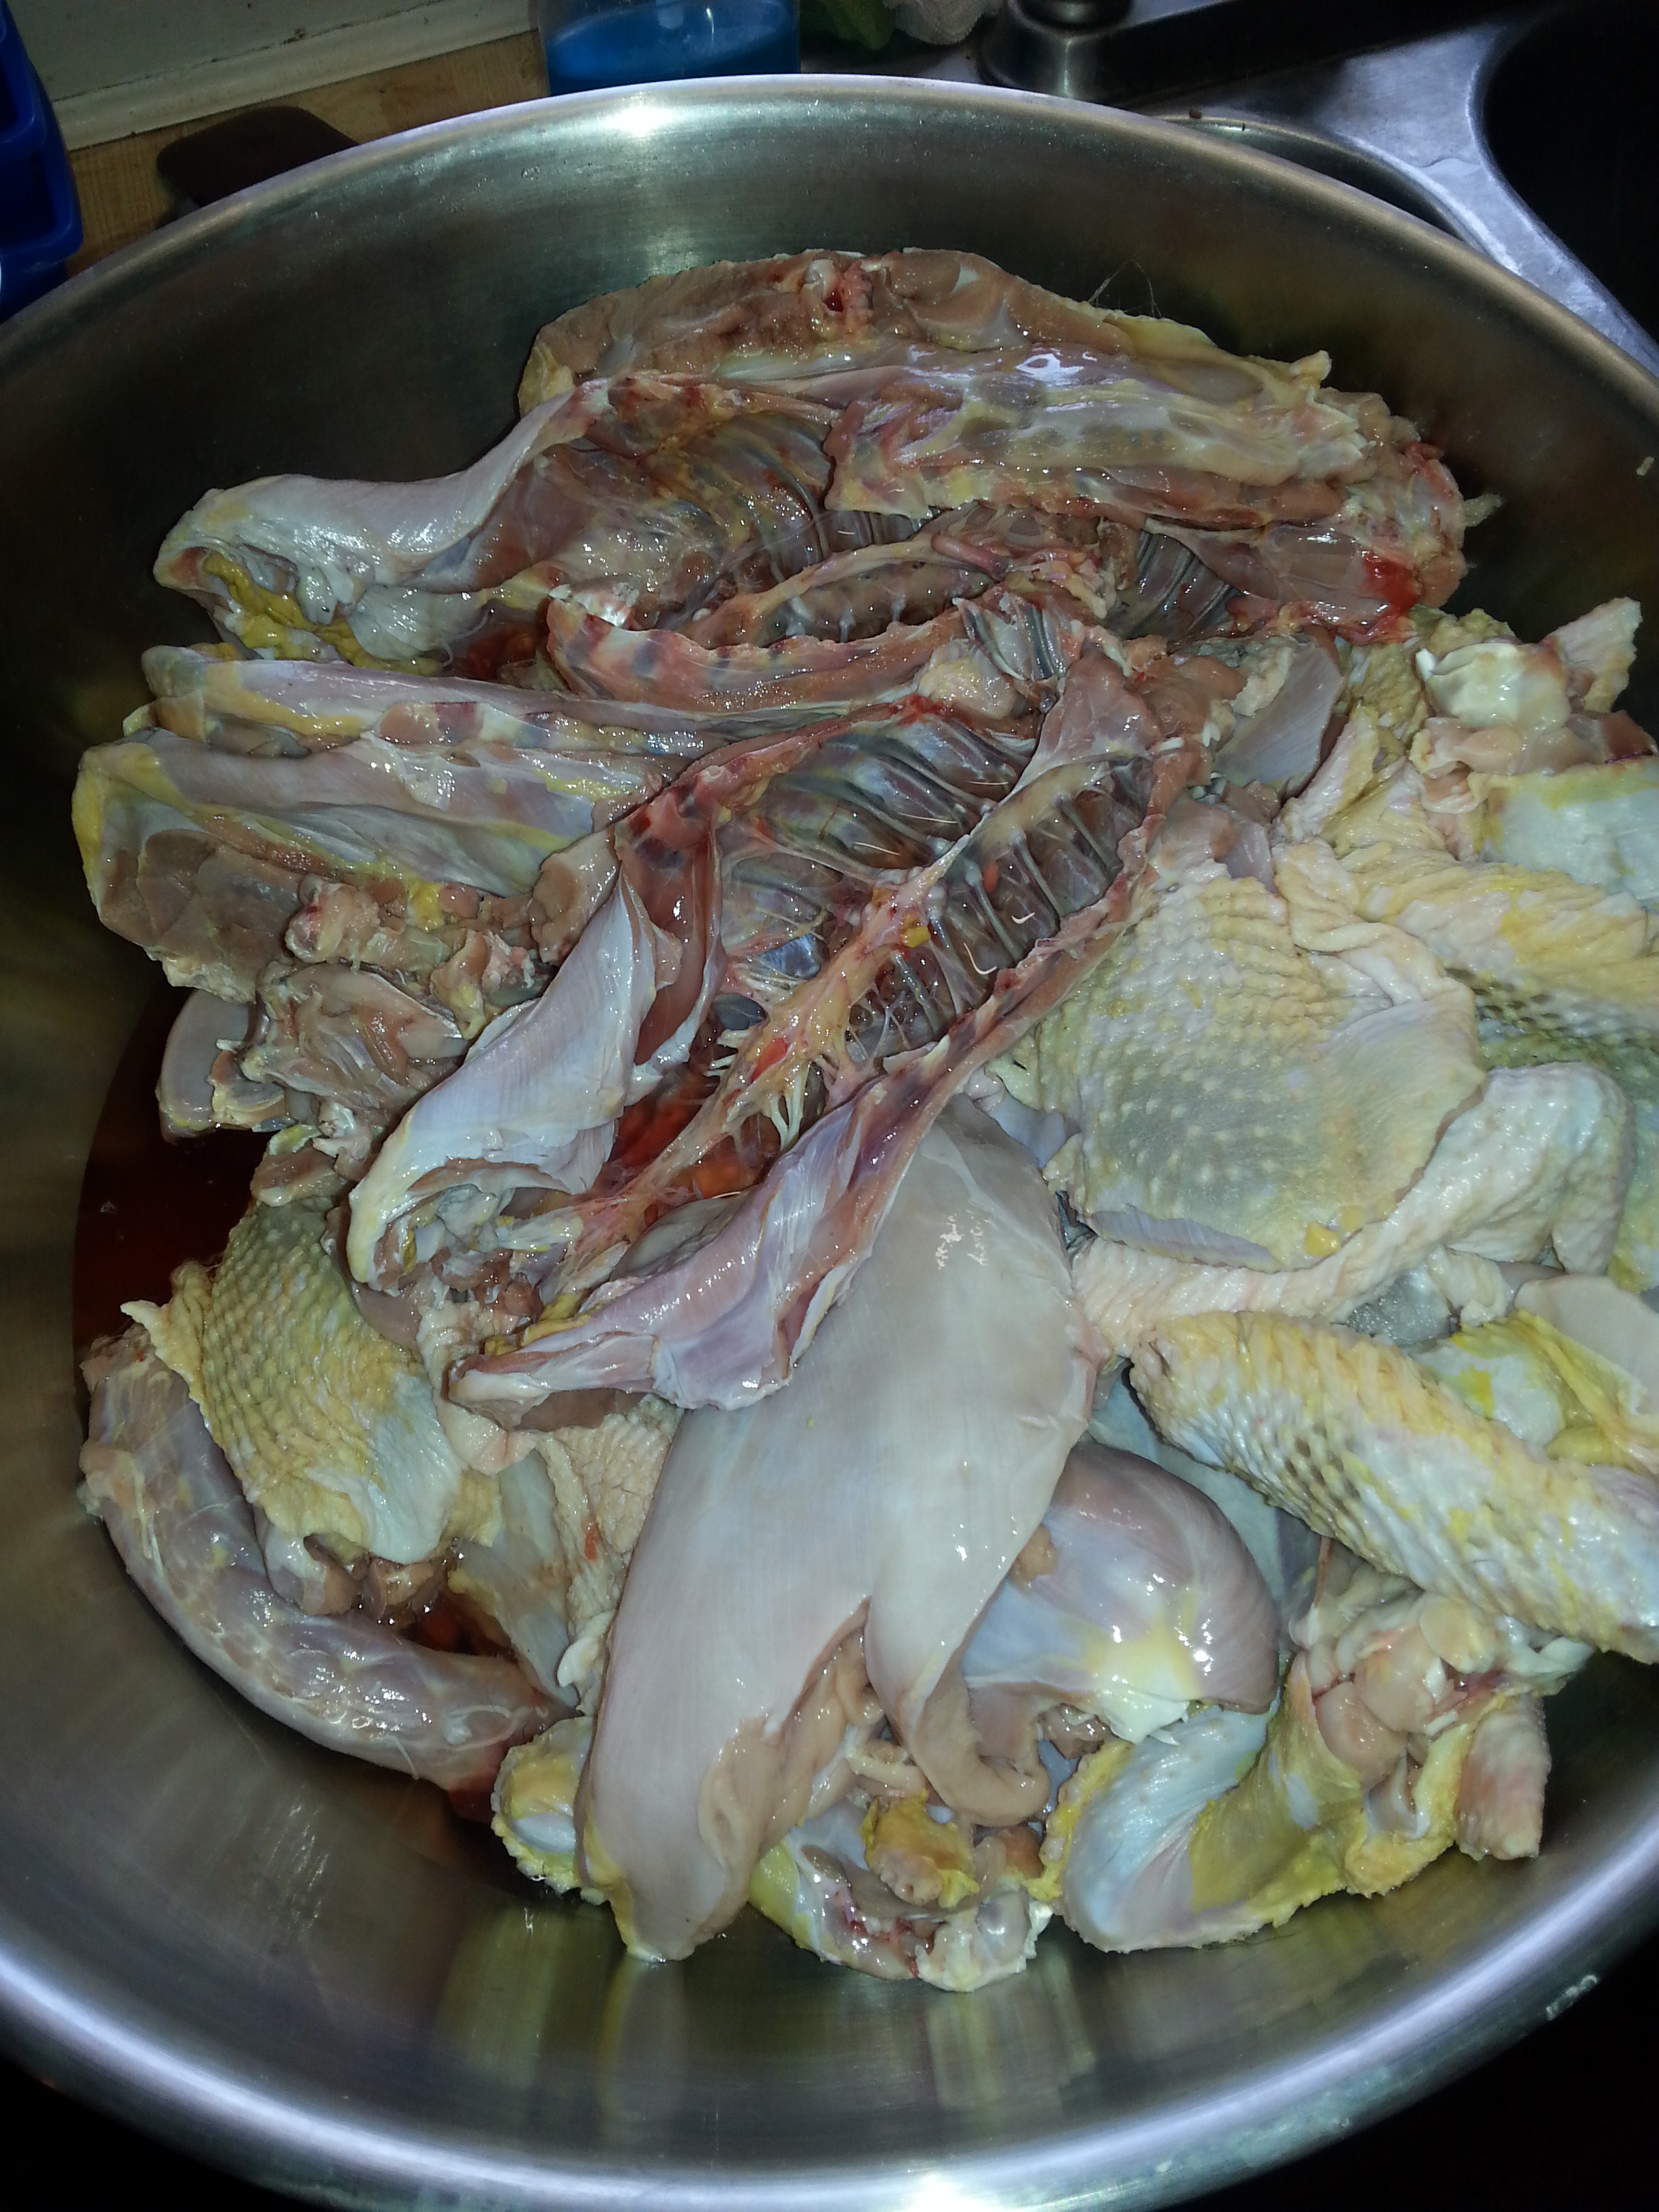
Canning Chicken – before being processed

I will say that if/when I do this again,  I will definitely not put as much water in the jars as is recommended because the raw meat makes its own broth while it is in the pressure canner cooking, and I lost a lot of valuable broth that way.  I was also afraid that the jars might now seal since there was so much broth in the water in the canner itself, but they all sealed!  I will probably add enough liquid to fill the jar no more than half way.  But, you should follow the instructions in the Ball Blue Book for your canning instructions, pressure, and time.

After the chicken had been in the pressure canner for the recommended amount of time, I turned the pressure off and let the canner slowly return to zero.  Once the pressure returned to zero, and I removed the lid, I removed my jars & tightened the lids down according to Tattler Resuable Canning Lid instructions, covered with a towel, & let cool.  All 7 quarts sealed and did wonderfully!  They have been washed, dried, & placed on a shelf in my pantry.

Canning Chicken - after being pressure canned

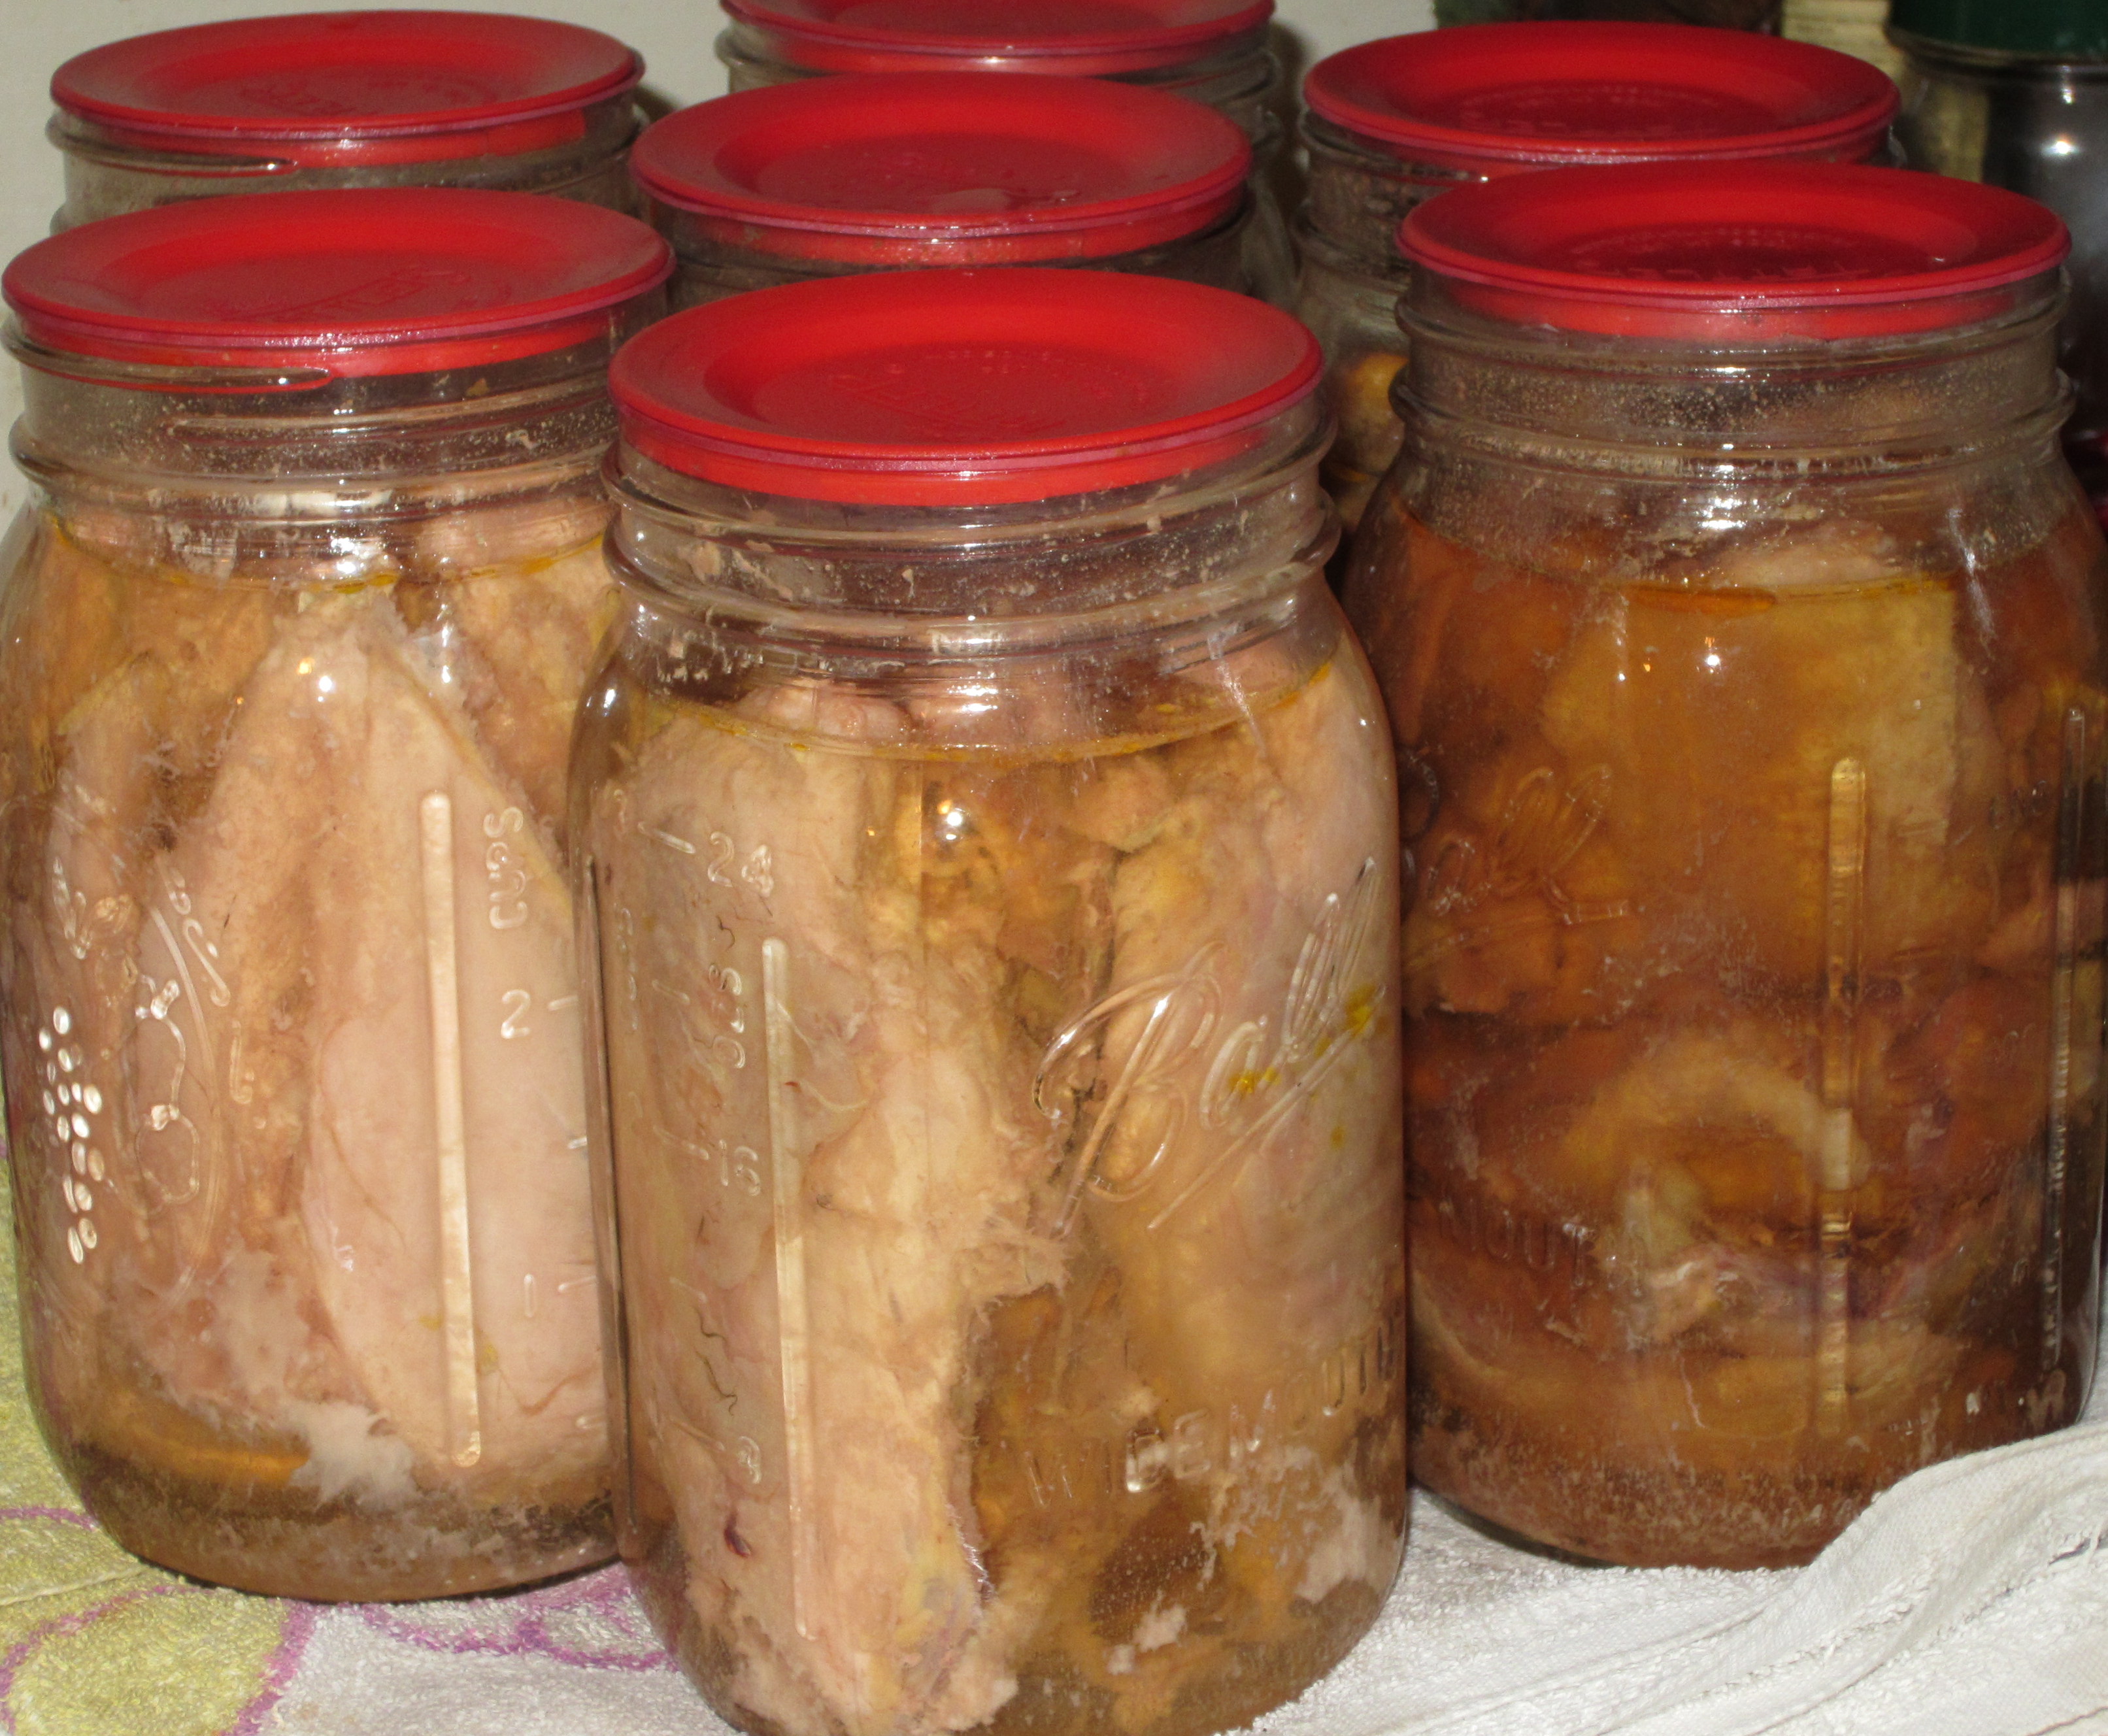
Canning Chicken – after being pressure canned

Since these birds were a little over a year old, they would be a little on the tough side, anyway, so pressure canning the meat should help to tenderize it.  The meat will probably be used in either soup or casserole dishes.  I will let you know what we think when I get around to opening one in the near future!

Here is the post with my update to canning raw chicken.

This post is linked to:

Heritage Homesteaders Blog Hop #4

Homestead Blog Hop #151

Farm Blog Hop

Clever Chick Blog Hop

Oak Hill Homestead

A Few More Thoughts on Emergency Preparedness

IMG_0782I wanted to go ahead and continue with my thoughts on emergency preparedness while they are still fresh on my mind.  I’ve mentioned of few of the items we would need as far as having heat/light/sustainability, but now I want to talk a bit more about a few areas that I found to be lacking in the “food” section of my pantry.  Let me start by saying that I know we could survive just fine on what I have, but there are definitely areas that would make survival easier during both short- and long-term power outages.

Here are a few areas that I found to be “lacking” in my food pantry:

*dry milk (we are not big fans of dry milk, but it would definitely come in hand for cooking in an emergency)

*vinegar  – definitely need more of this since I use it for cleaning

*baking soda – again, I use this for cleaning

*olive oil – need for some baking/cooking

*canned beans/meats/soups -by canned I mean home canned.  This is an area that I have always been lacking in.  Canning them is not that hard, I just need to remember to do so.  Not only will these be great to use in case of power outages, but they would also be great for quick meals/lunches.

*Canning seals – While I am slowly replacing my need for regular canning seals with Tattler seals, I still am far from having enough, so this is a must until I do have enough.  Even then, I will probably still keep a small supply on hand.

*Unbleached All-Purpose flour  – I grind my on wheat but only have an electric grinder, so I need a way to be able to bake items, make pancakes, etc.

*Hand crank grain mill – to grind wheat.

I know that there are probably more items that I need to stock up, but these are the major items.

Everyone’s pantry is going to be different.  There are a lot of people/articles/sites that will tell you that you HAVE to stockpile XYZ.  But, if it’s not something that your family would normally use, don’t stock pile it.  It will only go to waste.  And, make sure that you are diligent in rotating your pantry items.  Whenever you bring in something new, date each item & put them in the back/on the bottom & move the oldest items to the front.  You wouldn’t want to be in the middle of emergency and realize that your canned items went out of date 5 years ago.  That would make an already stressful situation even more stressful.

Again, I’m sure that there are more items that I could probably list, but these are the basics that I would need to provide for my family.

Snow Day 02/12/2014 & A Little Talk About Emergency Preparedness

Snow Day 02/13/14

Snow Day 02/13/14

It’s actually pretty rare that we get any snow worth writing about in our area, but we did last week.  And, it was beautiful!  Everything was quiet, white, & clear!

We did not get all of the ice that other areas received, and we didn’t lose power what we were afraid we would, but it did make me painfully aware of areas of my pantry that are definitely lacking in case of an emergency.  (Remember, a pantry consists of the items that you would need to make it through our daily routines.  It’s not just food, but toiletries, canning supplies, dish detergent, heating supplies, batteries, flashlights, etc.)


Snow Day 02/13/14

Snow Day 02/13/14

Here are a few of the items that I discovered that I definitely need to add to my pantry as money allows:

* flashlights

*batteries (all sizes)

*2-4 more oil lamps (not only do these provide lighting, but a small amount of heat, as well)

*Lamp oil

*extra oil lamp wicks

Snow Day 02/13/14

Snow Day 02/13/14

*water!!! (potable & nonpotable)

*Propane

Again, we were very blessed to not lose power more than an hour or so a couple of times, but we may not be so fortunate next time.  And, now we have tornado season looming in the not-so-distant future.  I want to make sure that I take this time of awareness and start plugging the “holes” that need to be fixed.  Some can be done fairly quickly & are not too expensive.  Others will take more time since they are more costly up front.

There are other areas of my pantry that I do need to build up, but I’ll address that at another time.